How to Fix Rowing Machine Technique?
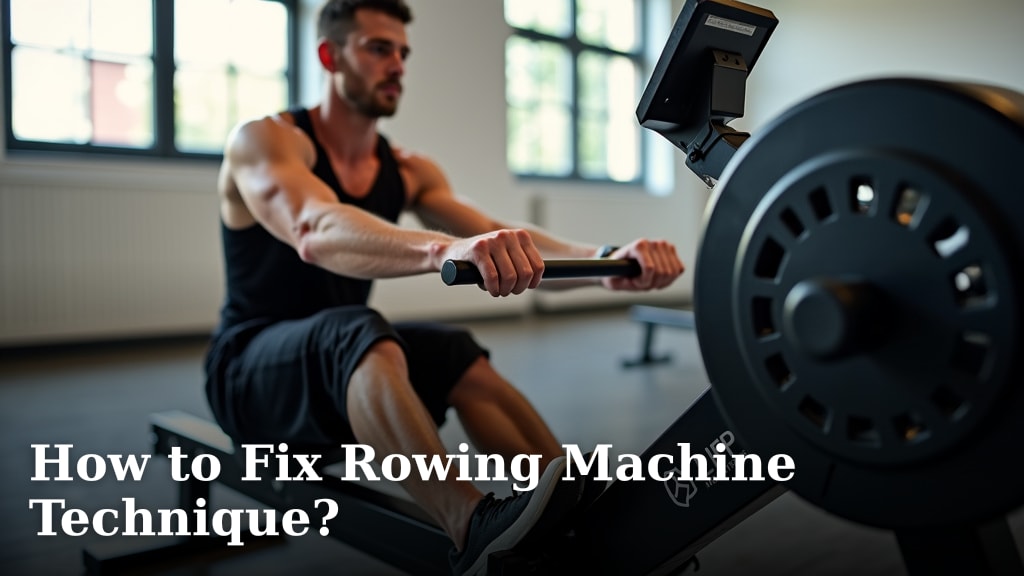
To fix rowing machine technique, focus on correct form in three key phases: the catch, the drive, and the finish. Many issues come from rushing the stroke or using too much arm strength. We found that mastering the coordinated movement of legs, core, and arms is essential for an efficient and powerful stroke.
Poor technique can lead to wasted energy and potential injury. Many people find their rowing workouts tiring without feeling effective. Addressing common mistakes helps you get a better workout and protect your body. We’ll show you how to row smarter, not just harder.
TL;DR:
- Rowing technique often needs small tweaks.
- Focus on legs, then core, then arms in the drive.
- Return to the start smoothly, arms first.
- Avoid hunching or gripping too tight.
- Practice makes perfect; slow down to improve.
Let’s walk through exactly how to improve your rowing machine technique, step by step.
Improving Your Rowing Machine Technique
You can significantly boost your workout by perfecting your rowing technique. It makes each stroke more powerful and reduces injury risk. Let’s break it down.
The Core Rowing Stroke: A Four-Phase Approach
Every effective rowing stroke has four main parts. Think of them as a continuous, flowing motion. We’ve found that understanding each part helps you find where your technique might be falling short.
The Catch – Ready to Propel
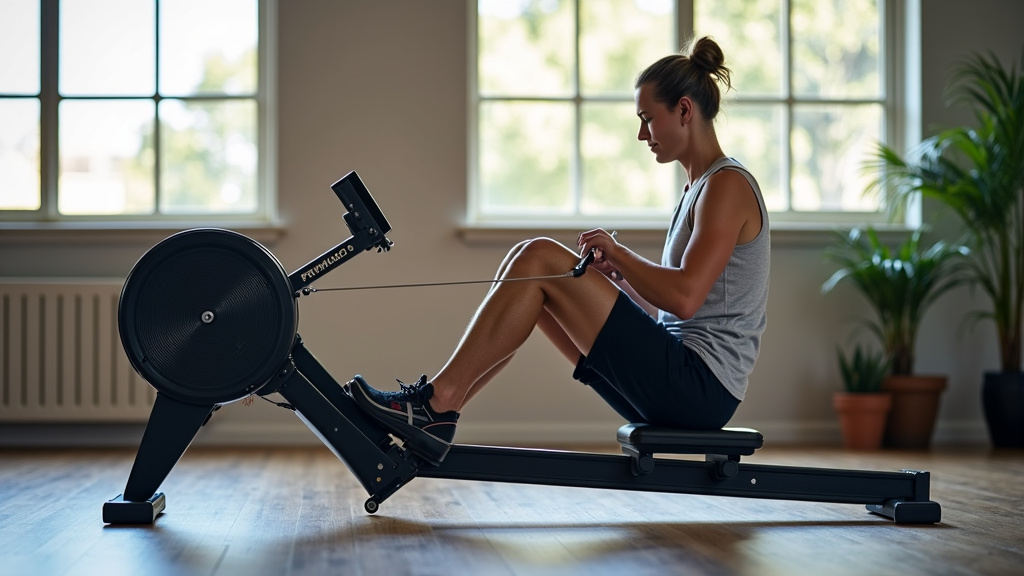
The catch is your starting position. It’s where you prepare for the power of the stroke. Here, your body should be compressed and ready to move.
- Knees bent and angled: Your shins should be vertical or close to it.
- Arms straight: Your arms should be fully extended out in front of you.
- Back tall and slightly leaned: Your torso should be upright, leaning forward a bit from your hips. We recommend a 1 o’clock position if 12 o’clock is perfectly vertical.
- Shoulders relaxed: Don’t hunch your shoulders towards your ears.
- Firm grip, not death grip: Hold the handle comfortably but firmly. You don’t want to squeeze it too tight.
Many people rush this phase or don’t lean forward enough. This limits your leg drive later on. We found that a good catch sets the stage for a strong stroke.
The Drive – The Powerhouse
This is where you generate most of the power. It’s often where people make the most mistakes. Think of it as a coordinated explosion of strength from your legs, core, and arms.
- Legs first: Push off the foot stretchers with your legs. Imagine pushing the entire rower away from you. This is the biggest part of the drive.
- Engage your core: Once your legs start straightening, swing your torso back slightly. This adds power from your core muscles.
- Arms last: Finally, pull the handle towards your chest. Your arms finish the motion, bringing the handle to the base of your sternum, just below your ribs.
The sequence is crucial: legs, then core, then arms. Many people pull with their arms too early. This wastes energy and puts strain on your back and shoulders. We frequently see this as a common error.
The Finish – Holding the Power
The finish is the end of the power phase. You’ve completed the stroke and are briefly in an extended position.
- Legs straight: Your legs are now fully extended.
- Back leaned back: Your torso is leaned back slightly, perhaps to the 11 o’clock position.
- Handle at your sternum: The handle should be against your body, just below your chest.
- Elbows out and relaxed: Keep your elbows pointing gently outwards. Don’t let them drop.
Don’t hold this position for too long, but it’s important to feel your core engaged. It’s a momentary pause before you recover.
The Recovery – Preparing for the Next Stroke
The recovery is the reverse of the drive. It’s a controlled return to the catch position. This phase should be smooth and deliberate.
- Arms first: Gently push your arms straight out until they pass over your knees.
- Lean forward: Once your arms are extended, pivot forward from your hips. Bring your torso back to that 1 o’clock position.
- Bend knees second: Finally, allow your knees to bend and slide forward, returning to the catch.
The sequence for recovery is also important: arms, then torso, then legs. Rushing the recovery or letting your knees bend too soon can cause you to hit your handles. This creates an awkward, inefficient motion.
Spotting Common Rowing Technique Mistakes
It’s easy to fall into bad habits. Recognizing them is the first step to fixing them. We identify these recurring issues time and time again.
Rushing the Recovery
Do you slide forward too quickly? This often looks like your body is collapsing into the catch. It wastes energy and destabilizes your form.
The fix: Slow down your recovery. The recovery phase should ideally be twice as long as the drive phase. Count “one-thousand-one” for the drive and “one-thousand-one, one-thousand-two” for the recovery. This helps you control the movement.
Arms-Only Pull (Arm-Dominant Drive)
Are your biceps burning before your legs? This means you’re pulling with your arms too early. Your arms are the weakest link for power.
The fix: Focus on the legs-core-arms sequence. Many experts suggest imagining a push more than a pull (Mayo Clinic). Think about pushing the footplate away with your feet. Your arms should only engage towards the very end of the drive.
Hunching or Rounding Your Back
If you’re curving your back, especially in the catch or during the drive, you’re putting stress on your spine. This is a common and potentially harmful mistake.
The fix: Maintain a strong, neutral spine. Keep your chest up and your shoulders back. Pivot from your hips, not your lower back. Your core muscles help you keep your back straight. Strengthen your core for better posture.
Gripping Too Tightly
Are your forearms aching? You might be gripping the handle too hard. This tires your hands and forearms unnecessarily.
The fix: Relax your grip. Imagine holding a potato chip without crushing it. Your fingers should form a hook, not a vice grip. We’ve found this simple imagery can make a big difference.
Incorrect Damper Setting
The damper setting isn’t about resistance; it’s about the “feel” of the water. Setting it too high doesn’t mean a harder workout; it just feels heavier.
The fix: Start with a lower damper setting. For most people, a setting between 3 and 5 is ideal. This simulates a lighter, faster boat, which encourages better technique over sheer brute force. Experiment to find what feels right for you.
Drills to Refine Your Rowing Technique
Specific exercises can help isolate and improve tricky parts of your stroke. Many coaches recommend these foundational drills.
Legs Only Drill
This drill helps you feel the power of your legs. It teaches you to use only your lower body for the initial drive.
How to do it:
- Start at the catch position.
- Push purely with your legs, keeping your arms straight and torso leaned forward.
- Your body should move back, but the handle stays in roughly the same position relative to your body.
- Only allow your knees to bend on the recovery.
Practice for a few minutes. You’ll quickly feel how much power your legs can generate.
Legs and Body Drill
Now, add your core to the leg power. This helps you smoothly integrate your torso swing.
How to do it:
- Start at the catch.
- Push with your legs.
- As your legs extend, gently rock back your torso from your hips.
- Keep your arms straight throughout.
- Reverse the process for recovery: torso forward, then knees bend.
This drill helps connect your legs and core. We find it reveals any stiffness in your hip hinge.
Pause Drills
These drills help you practice the transition between phases. They force you to pause and check your form at key points.
How to do it:
- Pause at the Finish: Complete a full stroke, then pause at the finish position for two seconds. Check your posture, grip, and handle placement. Then begin recovery.
- Pause at the Catch: Row normally, but pause for two seconds at the catch position. Check your shin angle, arm extension, and back lean.
Pauses bring awareness to your body position. We’ve seen many people find their errors during these moments.
Your Rowing Technique Checklist
Use this quick checklist to monitor your form during your workouts. Keep these points in mind for efficient rowing.
- Are your legs driving first? This is the most powerful part of your stroke.
- Is your core engaged and strong? Avoid hunching or slumping.
- Are your arms pulling last and finishing at the sternum? Your arms should complement, not dominate, the drive.
- Is your recovery smooth and controlled? It should be slower than your drive.
- Is your grip light and relaxed? Avoid white-knuckling the handle.
- Are you breathing steadily? Exhale on the drive, inhale on the recovery.
Why Slow and Steady Wins the Race (to Better Form)
You can’t fix your technique at full speed. Think of it like learning a dance. You practice the steps slowly before you speed up.
We often recommend that you start with a lower stroke rate. Aim for 18-22 strokes per minute. This gives you time to feel each part of the stroke. It allows your body to learn the correct movement patterns without rushing.
Focus on quality over quantity. A few minutes of perfect form at a slow pace is more beneficial than a long, fast row with bad habits. Your body will thank you, and your performance will eventually improve.
Conclusion
You now have the tools to significantly improve your rowing technique. By understanding the four phases of the stroke and practicing targeted drills, you can transform your workout. Remember to prioritize form over speed, especially when learning. Fixing common errors like rushing the recovery or pulling too early with your arms will lead to a more efficient and comfortable row. Your body will thank you for the reduced strain, and your performance will naturally get better. Take this knowledge to your next workout and start rowing smarter today.
Frequently Asked Questions
How can I tell if my rowing form is bad?
You might have bad form if you experience persistent lower back pain, shoulder strain, or your arms tire quickly. Watch yourself in a mirror or record a video of your rowing. Look for a rounded back, gripping too tight, or sliding forward too fast on the recovery.
Is it better to row with high intensity or focus on technique?
When you’re learning or fixing your technique, it’s always better to prioritize form over intensity. We found that slower, controlled strokes with correct movement patterns lead to better muscle memory. Once your technique is solid, you can gradually increase your intensity without sacrificing form.
How long does it take to improve rowing technique?
Improving your rowing technique is a gradual process. You might see small improvements in just a few sessions. Consistent practice, using drills, and being mindful of your body can lead to significant changes over several weeks or months. It’s a continuous journey of refinement.
Can a rowing machine hurt your back?
Yes, incorrect rowing technique, especially rounding your back or pulling with your arms instead of pushing with your legs, can strain your back. Maintaining a strong, neutral spine and hinging from your hips are key to protecting your back while rowing. Many people find strengthening their core helps a lot.
What’s the best way to get feedback on my rowing form?
One of the best ways is to record yourself rowing from the side. You can then compare your video to proper technique videos online. Many people also benefit from working with a certified rowing coach, even for one or two sessions, who can give real-time feedback and corrections.