How to Assemble a Rowing Machine?
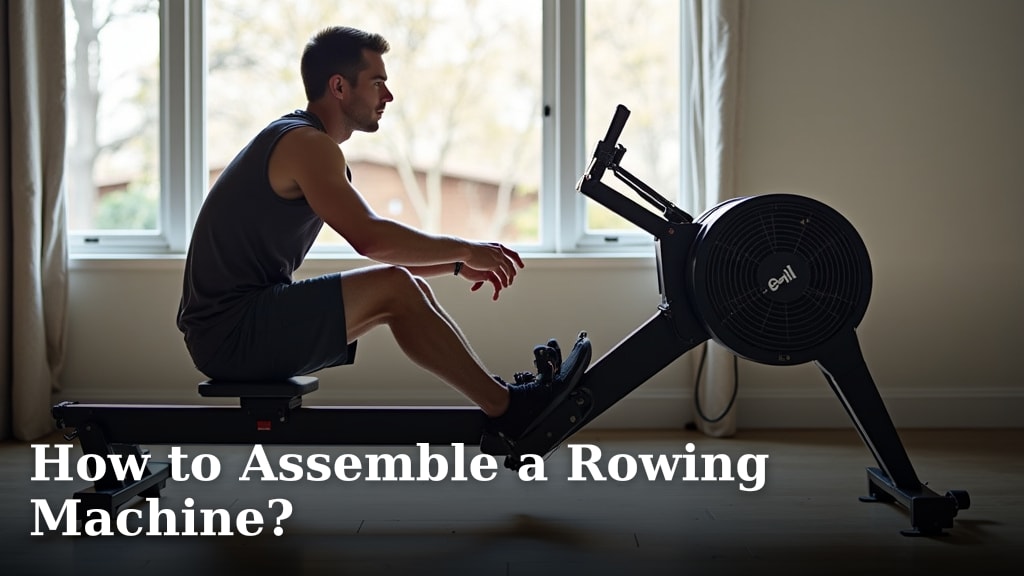
To assemble a rowing machine, you will typically need to attach the stabilizer feet, seat, and handle to the main frame. Then, you’ll connect the rail and any monitors or screens. Following the instructions carefully is key to a smooth assembly process.
You might think assembling exercise equipment is difficult, but we found that most rowing machines are designed for easy home setup. Even if you’re not a DIY expert, you can likely get your new rower ready for use without much trouble. A little patience goes a long way!
TL;DR:
- Attach stabilizers first.
- Install the seat and handle.
- Connect the main rail components.
- Mount the monitor.
- Double-check all bolts for tightness.
Ready to get started? Let’s walk through exactly how to assemble a rowing machine, step by step, so you can begin your workouts quickly.
Setting Up Your Rowing Machine: A Practical Walkthrough
You’ve got your brand-new rowing machine, and you’re eager to start. Where do you even begin? We’re here to guide you through the setup process. It’s often simpler than you think.
Unboxing and Inventory Check
Before you get too excited, take a few minutes for some preparation. This step ensures everything is present and accounted for. You don’t want to get halfway through assembly only to find a missing bolt!
Clearing Your Space
First things first, clear an adequate area. Rowing machines can be quite long, so give yourself plenty of room. A good rule of thumb is to have at least two feet of clear space around the machine once it’s assembled. This makes it easier to move around it during setup and offers a safer workout zone.
Checking the Parts List
Open the box and carefully remove all components. Lay them out on a clean, soft surface like a moving blanket or carpet. Then, grab the owner’s manual. We found that matching each part to the provided list prevents headaches later on. Are all the bolts, washers, and nuts there? Is the seat present? This quick check saves you from feeling frustrated.
| Component Type | Checklist Item | Notes |
|---|---|---|
| Major Parts | Main Frame/Base, Rail, Seat, Monitor | Often the largest pieces. |
| Stabilizers | Front and/or Rear Feet | Essential for machine stability. |
| Connectors | Bolts, Washers, Nuts, Pins | Usually organized in a separate bag. |
| Tools | Allen Wrenches, Spanner | Manufacturers often provide basic tools. |
| Documentation | Owner’s Manual, Instructions | Your go-to guide for specific steps. |
Assembling the Base and Stabilizers
Most rowing machines start by building a stable foundation. Think of it as the feet of your rower. This is usually a straightforward process.
Attaching the Front Stabilizer
The front stabilizer bar typically attaches to the main frame of the rower. You’ll usually find two or three bolts and corresponding washers here. Align the holes, insert the bolts, and hand-tighten them first. We found it’s best not to fully tighten until all bolts for that part are in place. This allows for minor adjustments if holes aren’t perfectly aligned.
Securing the Rear Stabilizer (If Applicable)
Some models have a rear stabilizer as well. Its attachment is similar to the front one. Again, make sure everything is flush before you tighten anything down. We’re aiming for a sturdy, wobble-free base here.
Mounting the Seat and Rail
Now that your rower has “feet,” it’s time to install the part you’ll be sitting on: the seat. This often involves attaching it to the long rail.
Installing the Seat
The seat usually slides onto the rail. Pay attention to its orientation; there’s often a “front” and “back” side. You’ll generally slide it down the rail until it clicks into place or you secure it with a stopper. Ensure the rollers underneath the seat are properly seated in the rail’s grooves. We found that a little silicone lubricant can help if the seat feels stiff, but check your manual first (Mayo Clinic).
Connecting the Rail to the Main Frame
This is where your rower starts to look like, well, a rower! The rail, with the seat already on it, now connects to the main frame where the flywheel and resistance mechanism are. This joint often uses larger bolts or a quick-release pin. Line up the connection points carefully. Sometimes, it helps to have a second person hold one end while you secure the other, but it’s usually manageable solo.
Attaching the Handle and Resistance Components
The handle is your connection to the rowing action. This step connects it to the resistance system.
Connecting the Handle Strap/Chain
The handle is usually pre-attached to a strap or chain that retracts into the main frame. You might need to pull the handle out slightly to thread it through a guide or connect it to a bungee cord. Follow your manual closely here, as this part can vary. Make sure the handle retracts smoothly when you release it.
Installing the Monitor and Electronics
The monitor is your feedback system. It shows your strokes, distance, and calories burned. Connecting it usually means plugging in a few wires.
Mounting the Monitor Arm
The monitor often sits on an adjustable arm. You’ll attach this arm to the main frame, usually with a few screws. Ensure it’s secure but also allows you to adjust it to a comfortable viewing angle once you’re on the machine.
Connecting Cables and Batteries
This is generally the easiest electrical part. You’ll connect small sensor cables from the resistance unit to the monitor. If your monitor uses batteries, install them now. Sometimes, simpler monitors have just one or two plugs. We found that double-checking these connections prevents the “dead screen” problem later.
Final Checks and Adjustments
You’re almost there! Before you jump on and row to victory, take a moment for a crucial safety check.
Tightening All Bolts
Go back over every single bolt and nut you touched. Using the provided tools, tighten them securely. Not overly tight, which can strip threads, but firm enough so nothing wiggles. This prevents squeaks and ensures the machine is safe and stable for use. We often find people skip this step, leading to loose parts and instability.
Performing a Test Pull
Sit on the seat and pull the handle. Do the wheels roll smoothly on the rail? Does the handle retract fully? Does the resistance feel even? This quick test (without actually rowing) helps confirm everything is in working order. If anything feels off, consult your manual immediately.
Your Pre-Workout Checklist
- Confirm all major parts are securely attached.
- Check every bolt and nut for tightness.
- Ensure the seat rolls freely and doesn’t get stuck.
- Verify the handle strap retracts smoothly.
- Confirm the monitor powers on and displays data.
- Clear any tools or packing materials from the vicinity.
There you have it! Your rowing machine is now ready for action. You’ve successfully assembled it, and you’re prepared to dive into your fitness journey. Happy rowing!
Conclusion
You’ve successfully navigated the assembly process for your new rowing machine. We’ve shown that with a little patience and by carefully following the instructions, you can easily get your rower set up. Remember, taking your time and double-checking connections ensures a safe and stable workout machine.
Your effort in assembling it correctly means less downtime and more time enjoying your workouts. So, take pride in your DIY accomplishment! Now, all that’s left is to jump on and start rowing your way to better fitness goals. You’re ready to go!
Frequently Asked Questions
How long does it typically take to assemble a rowing machine?
Most rowing machines can be assembled in 30 minutes to an hour. The actual time depends on the model’s complexity and if you have another person helping. Taking your time during unboxing and inventory can actually speed up the overall process.
What tools do I need to assemble a rowing machine?
Manufacturers usually provide all the necessary basic tools, such as Allen wrenches and a small spanner. However, having a standard Phillips head screwdriver and perhaps an adjustable wrench of your own might make some steps a bit easier and more comfortable for you.
What should I do if a part is missing or damaged during assembly?
If you discover a missing or damaged part, stop assembly immediately. Refer to your owner’s manual for the customer service contact information. Most manufacturers have a dedicated line or online portal to order replacement parts, and they are usually quick to resolve such issues.
Can I assemble a rowing machine by myself, or do I need help?
Most rowing machines are designed for single-person assembly. However, some steps, like connecting the rail to the main frame, can be easier with two people. If you have extra hands, it can certainly make the process go a bit smoother.
How often should I retighten the bolts on my rowing machine after assembly?
It’s a good practice to check and retighten all bolts and connections after your first 5-10 hours of use. After that, we recommend doing a general check every few months. This helps maintain the machine’s stability and prevents any unexpected loosening over time.