
What Is a Damper Setting on a Rowing Machine?
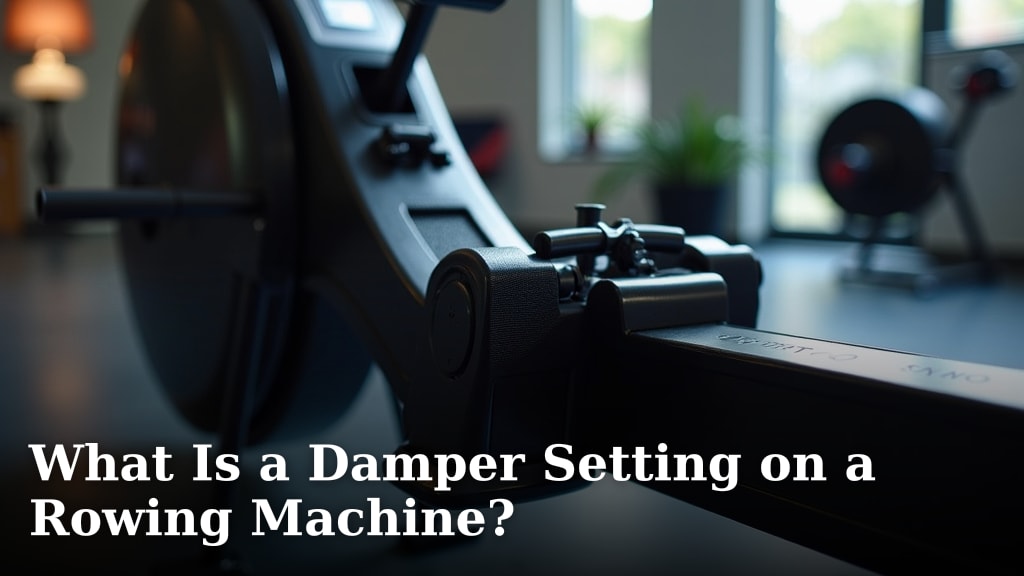
A damper setting on a rowing machine controls the airflow into the flywheel cage, which then changes how the machine feels to you. It’s often misunderstood, but it’s not actually a direct measure of resistance. Instead, it feels like rowing in different types of boats or water conditions.
Think of it like cycling gears. You adjust them to make pedaling feel harder or easier. Similarly, the damper setting makes your stroke feel lighter or heavier. It affects the drag factor, which is how much effort you need to keep the flywheel moving.
- A damper setting adjusts airflow, not resistance.
- It changes the “feel” of your stroke.
- Higher settings feel like rowing a heavy boat.
- Lower settings feel like rowing a sleeker boat.
- The right setting depends on your rowing style.
Ready to get more out of your rowing workouts? We researched and found everything you need to know about this key feature.
Let’s clear up a common misunderstanding right away. Many people think the damper setting directly controls resistance. It doesn’t. Instead, it adjusts how much airflow gets into the flywheel cage. This changes the feel of each stroke, making it lighter or heavier, much like how different boats feel on the water.
Understanding the Rowing Machine Damper
The damper on your rowing machine is a simple lever or dial. It’s usually numbered from 1 to 10. You move it to open or close a vent on the side of the flywheel cage. Think of it like a carburetor on an engine – it regulates air intake.
When you row, the flywheel spins. This spinning creates air resistance. The damper setting controls how much air is available to the flywheel. More air means more drag, creating a heavier feel. Less air means less drag, resulting in a lighter feel.
How Airflow Changes the Feel of Your Stroke
Imagine pushing through water. A wide, flat-bottomed boat creates a lot of drag. It takes more effort to move it, and it slows down quickly. This is similar to a higher damper setting.
Now, picture a sleek racing shell. It glides through the water with minimal resistance. This is what a lower damper setting feels like. The machine responds differently to your power, even if your actual effort level is the same.
It’s important to know that the damper doesn’t increase the total work you do. It changes how that work feels. You still need to apply force to get the flywheel spinning and create your power output.
| Damper Setting | Airflow | Feel of Stroke | Analogy |
|---|---|---|---|
| Low (1-3) | Less air | Lighter, smoother | Sleek racing shell |
| Medium (4-6) | Moderate air | Balanced, typical | Recreational rowboat |
| High (7-10) | More air | Heavier, more resistance | Heavy fishing boat |
Damper vs. Resistance: Why They’re Different
This is a big one. It’s easy to confuse damper with resistance, but they aren’t the same. Your power output on a rowing machine comes from your muscles, not the damper setting.
The resistance itself is generated by the flywheel spinning against the air. The faster you spin it, the more resistance it creates. The damper just changes the initial drag factor, or how much effort it takes to accelerate the flywheel from a dead stop.
Understanding Drag Factor
The term “drag factor” is crucial here. It’s a measure of the actual resistance your machine provides. It tells you how much the air in the flywheel cage is slowing it down. You can often see your drag factor on your rowing machine’s monitor.
Higher damper settings generally lead to a higher drag factor. This means the flywheel slows down more quickly between strokes. You’ll need to apply more force earlier in the stroke to get it moving again.
Conversely, lower damper settings result in a lower drag factor. The flywheel spins more freely and longer. This means less initial force is needed, and you can focus on a faster stroke rate.
Think about a car. The engine produces power (your muscles). The overall resistance of the car moving through air and friction on the road is like the drag factor. The damper setting is like choosing a different type of car, some with more inherent drag than others.
Finding Your Ideal Damper Setting
There’s no single “best” damper setting for everyone. Your ideal setting depends on several factors. This includes your fitness level, your rowing goals, and even your personal preference.
Considering Your Fitness Level
- If you’re just starting out, a lower to medium setting (3-5) is often recommended. This allows you to focus on your form and technique without feeling overwhelmed by a heavy drag.
- As you get fitter, you might find that you can handle a slightly higher drag factor. This can challenge your muscles more.
Matching Your Rowing Goals
For Endurance and Cardio Workouts
If your goal is long, steady-state cardio or endurance, a lower to medium setting (3-5) is usually best. This simulates rowing a lighter, faster boat. It allows you to maintain a higher stroke rate for longer periods without prematurely fatiguing your muscles. You’re working your cardiovascular system more effectively.
For Strength and Power Training
For workouts focused on strength and power, a medium to higher setting (5-7) can be beneficial. It mimics the feel of pushing a heavier boat. This requires more muscle recruitment and explosive power on each stroke. Be careful not to go too high, as it can strain your lower back and joints.
For Technique Drills
When practicing technique, many coaches suggest keeping the damper in the lower to medium range (2-4). This reduces the distraction of heavy resistance. It lets you concentrate purely on your body mechanics, sequencing, and rhythm.
Personal Preference and Feel
Ultimately, the “right” setting often comes down to what feels comfortable and effective for you. Don’t be afraid to experiment. Spend time rowing at different settings to see what works best for your body and your workout style.
We recommend starting in the middle, around a 4 or 5, and then adjusting from there. Pay attention to how your body feels. Are you able to maintain good form? Are you getting the workout you want?
Common Damper Setting Mistakes to Avoid
While experimenting is good, there are a few common pitfalls to steer clear of. You want to make sure you’re getting the most out of your rowing machine safely.
Setting It Too High
Many beginners think a higher damper setting means a better workout. This isn’t necessarily true. A very high setting (8-10) can lead to:
- Poor technique: You might start muscling the stroke, using your arms and back too much, instead of driving with your legs.
- Injury risk: Excessive strain on your lower back, shoulders, and knees is a real concern (Mayo Clinic).
- Lower power output: Paradoxically, you might generate less overall power because your muscles fatigue too quickly.
- Slower stroke rate: It becomes very difficult to maintain a good rhythm.
If you find yourself struggling to maintain proper form or getting exhausted quickly, try lowering your damper setting. You might be surprised at how much more effective your workout becomes.
Setting It Too Low
While less common, setting the damper too low (1-2) can also be an issue for some advanced users. It can feel like rowing on air, making it hard to develop power and get a satisfying connection with the machine. It might not provide enough sensory feedback for some rowers.
Not Adjusting for Workout Type
Remember that your ideal setting might change from workout to workout. If you’re doing a high-intensity interval training session, you might use a slightly different setting than for a long, steady-state piece. Be flexible and adjust as needed.
Here’s a quick checklist to help you dial in your damper:
- Start in the mid-range (4-6) if unsure.
- Prioritize good technique over heavy resistance.
- Listen to your body and adjust if you feel pain.
- Experiment with different settings for different workouts.
- Check your drag factor on the monitor when available.
By understanding what the damper setting truly does, you can make smarter choices for your workouts. This will help you row more effectively and prevent injuries.
Conclusion
The damper setting isn’t about making your workout harder. It changes the feel of your stroke, mimicking different boats on the water. Understanding this difference helps you train smarter. You can tailor your rowing experience to your fitness level, goals, and even the type of workout you’re doing. Remember to prioritize good form over high settings to prevent injury. Experiment with different levels to find what works best for your body. Now, go forth and row with purpose, adjusting your damper to get the most out of every stroke!
Frequently Asked Questions
Should I always row on a low damper setting?
Not necessarily. While lower settings (3-5) are excellent for technique and cardiovascular training, higher settings (5-7) can help build strength for shorter, more powerful bursts. Your ideal setting depends on your workout goal for that day.
Does a higher damper setting mean I’m burning more calories?
No, not directly. Calorie burn is linked to your overall power output, which comes from your effort, not just the damper setting. A very high damper setting might even reduce your power if it compromises your form or fatigues you too quickly.
When should I check my drag factor on the monitor?
It’s a good idea to check your drag factor periodically, especially if you’re trying to replicate specific training conditions. This ensures consistency in your setting, as a “4” on one machine might feel slightly different from a “4” on another.
Can using too high a damper setting cause back pain?
Yes, it can. A very high damper setting encourages you to “muscle” the stroke, often leading to excessive pulling with your arms and back instead of driving powerfully with your legs. This can put undue strain on your lower back and increase injury risk.
Is there an “average” or “standard” damper setting most people use?
Many recreational rowers and coaches recommend starting in the mid-range, around 4-6. This offers a balanced feel that suits most general fitness goals and allows you to focus on good technique without excessive drag.
