How to Increase Rowing Machine Resistance?
To increase rowing machine resistance, you can often adjust a physical lever or dial on the machine, or in the case of water rowers, add more water. For air rowers, a higher damper setting increases resistance by allowing more air into the flywheel housing, making each pull feel heavier and more challenging.
Getting the right resistance setting is key to a great workout. You want enough challenge to build strength, but not so much that you hurt yourself. Finding that sweet spot for resistance helps you maximize your rowing benefits and reach your fitness goals.
TL;DR:
- Adjust physically on most machines.
- Add water for water-based rowers.
- Higher damper means more air for air rowers.
- Increased resistance builds strength and stamina.
- Find your ideal setting for effective workouts.
Let’s walk through exactly how to adjust the resistance on different types of rowing machines, ensuring you get the most out of every stroke.
Boosting Resistance on Your Rowing Machine
You’re ready to make your rowing workouts more challenging. Increasing the resistance helps you build strength and endurance, pushing your fitness to new levels.
Let’s dive into how to adjust resistance across the most common types of rowing machines. We’ll explore each kind, giving you clear steps.
Understanding Resistance Types
Before we adjust anything, it helps to know how resistance works on your specific machine. Different types of rowers use different methods to create that challenging pull. Knowing this helps you make the right adjustments.
Air Rowers: The Damper Setting Explained
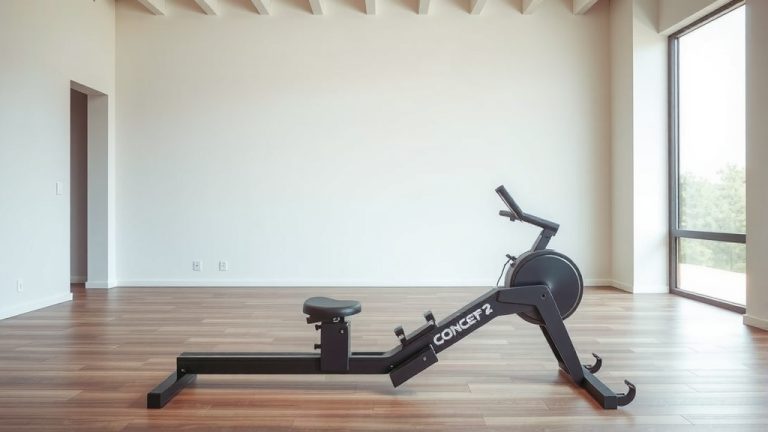
If you have an air rowing machine, such as a Concept2, you’re interacting with a damper. Think of the damper like the gears on a bicycle. It regulates how much air enters the flywheel housing. A common misconception is that the damper directly changes resistance.
Instead, a higher damper setting allows more air into the cage. This makes the flywheel feel heavier to accelerate with each stroke. You’ll need to exert more force to get it moving. Many experts say this creates a feeling of rowing a heavier boat (Concept2).
- How to Adjust: Look for a lever or dial on the side of the flywheel housing. It often has numbers from 1 to 10.
- Higher Number (e.g., 8-10): More air enters, creating a heavier, more challenging feel. Great for building power and strength.
- Lower Number (e.g., 1-4): Less air enters, creating a lighter, faster feel. Good for endurance training and warm-ups.
We typically suggest starting in the middle, around a 3-5 setting, then adjusting up or down based on your comfort and workout goal. Don’t feel pressured to use the highest setting right away; it’s about effective training, not just maximum numbers.
Water Rowers: Harnessing the Power of Water
Water rowers offer a unique experience, mimicking the feel of rowing on actual water. The resistance here is largely self-regulating, meaning it adjusts to your effort. The harder you pull, the more resistance the water creates. However, you can make some adjustments.
- How to Adjust: You increase or decrease the amount of water in the tank.
- Adding Water: More water in the tank means there’s more mass for the flywheel to move. This creates a consistently heavier feeling throughout your stroke. It’s like adding more weight to a boat.
- Removing Water: Less water makes the experience lighter.
Many models, like WaterRower, come with a siphon pump for adding or removing water. You’ll usually find fill lines on the tank itself as a guide. Adding water is simple: just pour it in with a funnel. Removing it takes a little more effort with the pump.
You can experiment to find your preferred water level. A higher water level can be great for a power workout, while a lower level might be better for longer, steady-state rows. Just be careful not to overfill or underfill beyond the manufacturer’s recommendations.
Magnetic Rowers: Precision Control at Your Fingertips
Magnetic rowing machines use magnets and a flywheel to create resistance. These are often known for being quiet and offering very consistent resistance. You usually find a wide range of settings on these machines, giving you precise control.
- How to Adjust: Look for a manual dial or an electronic console.
- Manual Dial: This is often a knob located near the front of the machine, close to the flywheel. Turning it up or down moves the magnets closer to or further from the flywheel, directly increasing or decreasing resistance.
- Electronic Console: Many modern magnetic rowers allow you to adjust resistance via buttons on the display. You might see “Level Up” or “Level Down” buttons, or a numerical input.
Magnetic rowers typically have the most straightforward resistance adjustment, often ranging from 1 to 8 or 1 to 16. A higher number always means more resistance. This direct control makes it easy to quickly change intensity during interval training.
Hydraulic Rowers: Simple and Compact
Hydraulic rowers are known for their compact size and often lower price point. They use hydraulic cylinders to create resistance. Many models have individual cylinders for each handle, allowing for independent arm work.
- How to Adjust: You’ll usually find a clamp or lever on the hydraulic cylinder itself.
- Tightening the Clamp/Moving the Lever: This restricts the flow of fluid within the cylinder, making it harder to pull the handles. It’s similar to how a bicycle pump gets harder to push if you cover the air hole.
Be aware that hydraulic cylinders can sometimes heat up during extended, high-resistance use, which might slightly change the resistance feel as you row. This is normal for this type of rower. Always refer to your machine’s manual for specific adjustment instructions.
Finding Your Ideal Resistance Setting
So, you know how to adjust your machine. But what’s the “right” setting for you? It’s not a one-size-fits-all answer. Your ideal resistance depends on your fitness level, your workout goals, and even how you feel that day.
Workout Goals and Resistance Levels
Let’s match your goals with suggested resistance. This will give you a good starting point.
- Endurance Training: If you’re going for long, steady rows to build stamina, a lower to medium resistance is often best. You want to maintain a consistent stroke rate without burning out too quickly. For example, on an air rower, try a damper setting of 2-4. On a magnetic rower, perhaps levels 4-6.
- Strength and Power: For strong, short bursts to build muscle and power, you’ll want a higher resistance. This makes each stroke feel heavier and requires more effort. Think air rower damper 6-8, or magnetic rower levels 8-12.
- Interval Training (HIIT): This type of workout involves alternating between high-intensity bursts and recovery periods. You might use a medium-high resistance for your sprint intervals and then drop it slightly for recovery. Electronic resistance adjustments are great for this.
- Warm-up/Cool-down: Always start and finish with a very light resistance. This helps properly prepare your muscles and cool down safely.
We found that many people benefit from varying their resistance during the week. Don’t be afraid to mix it up!
Signs You Need to Increase Resistance
How do you know it’s time to crank it up? Your body will give you clues. Here are some signs we often hear from rowers:
- You complete your usual workout feeling like you “could have done more.”
- Your stroke rate is consistently very high (e.g., above 30 strokes per minute) without much effort.
- You’re not breaking much of a sweat, even during intense sessions.
- The effort feels easy, and you’re not getting a good muscle burn.
- Your performance numbers (e.g., split times) aren’t improving over time.
When you notice these signs, it’s probably a good time to make a small adjustment. Increase the resistance by just one level or a small amount of water. See how it feels, and then adjust again next time if needed. Small, steady increases are much better than sudden, drastic changes.
Resistance Checklist: Are You Maximizing Your Workout?
Use this quick checklist to ensure you’re getting the most out of your resistance settings and your rowing machine.
- Is your chosen resistance appropriate for your current fitness level?
- Does the resistance match your workout goal for today (endurance, power, recovery)?
- Are you maintaining good form, even with higher resistance? (Good form is key!)
- Do you feel adequately challenged but not overly strained?
- Are you making small, gradual resistance changes, not huge jumps?
- Have you consulted your rower’s manual for specific resistance guidelines?
The Importance of Proper Form at Higher Resistance
Increasing resistance can be great, but it puts more strain on your body. This makes proper rowing form even more important. If your form breaks down at higher resistance, you risk injury and won’t get the full benefit of the workout.
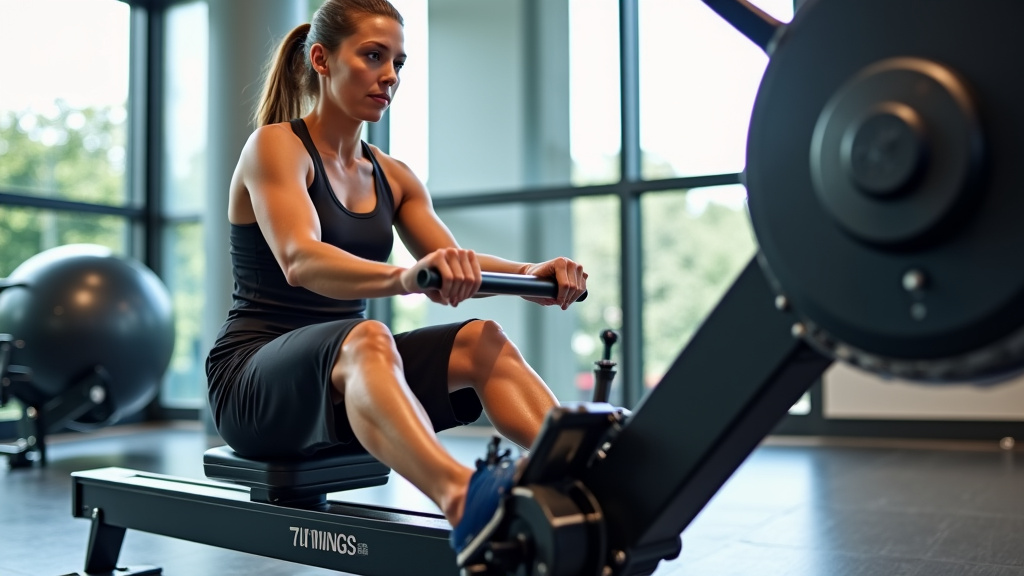
The stroke should be a smooth, coordinated motion involving your legs, core, and arms. When you increase resistance, resist the urge to just pull harder with your arms. Focus on driving strongly with your legs. If your lower back starts to ache or your shoulders feel overly strained, your resistance might be too high, or your form might need a check.
You can find many great resources online for reviewing proper rowing form. Just search for “rowing technique” or “rowing stroke.” Many coaches say that good form at moderate resistance is always better than bad form at high resistance (American Council on Exercise).
When to Decrease Resistance
It’s not always about increasing. There are times when it’s smart to lower your resistance setting:
- Injury or Recovery: If you’re recovering from an injury or feeling unusually sore, a lower resistance helps you stay active without overdoing it.
- Technique Drills: Sometimes, you might want to focus purely on your rowing technique. A lower resistance allows you to concentrate on the movements without battling a heavy load.
- Longer Workouts: For very long, steady-state sessions, a lighter resistance can be more sustainable.
- Feeling Fatigued: On days when you’re just not feeling 100%, it’s okay to dial it back. Listening to your body is crucial for long-term fitness.
Remember, your fitness journey is not a straight line up. There will be days to push hard and days to take it easier. Adjusting your resistance thoughtfully helps you navigate both.
Comparing Rower Resistance Mechanisms
Here’s a quick summary to help you visualize the different resistance types and how they operate. This table breaks down the core differences.
| Rower Type | Resistance Mechanism | How to Increase | Feel of Resistance |
|---|---|---|---|
| Air Rower | Air flywheel | Increase damper setting (more air in housing) | Heavier to accelerate, similar to rowing a heavy boat |
| Water Rower | Water in a tank | Add more water to the tank | Consistently heavier across the stroke, mimics water resistance |
| Magnetic Rower | Magnets and flywheel | Increase level via dial or console (magnets move closer) | Directly harder pull, very consistent across stroke |
| Hydraulic Rower | Hydraulic cylinders | Tighten clamp or adjust lever on cylinder | Immediate resistance pull; can warm up during use |
As you can see, each type offers a distinct rowing experience. Understanding these differences helps you make informed choices about your workout.
Conclusion
You now have a clear understanding of how to adjust resistance across various rowing machines. Remember, the best setting for you isn’t static; it evolves with your fitness journey and daily goals. By learning to tweak your machine, you gain more control over your workouts.
Pay attention to your body, maintain good form, and always prioritize small, gradual adjustments over drastic changes. Keep experimenting to find that perfect balance that challenges you without compromising your technique. Go ahead and put these tips into practice to make every stroke count!
Frequently Asked Questions
Is higher resistance always better for building muscle on a rower?
Not necessarily. While higher resistance builds power and strength, extremely high settings can compromise your form and lead to injury. We’ve found it’s better to use moderately high resistance with excellent technique for muscle growth.
How often should I increase the resistance on my rowing machine?
Increase resistance gradually, perhaps every few weeks, or when you notice your current setting feels significantly easier. Listen to your body and make small adjustments. Consistency and good form are more important than constantly pushing the highest resistance.
Can resistance changes affect my rowing machine’s calorie burn?
Yes, increasing resistance typically increases your calorie burn. More resistance means your muscles work harder, leading to a greater energy expenditure. However, maintaining a consistent stroke rate and workout duration also plays a big role.
My rowing machine only has one resistance setting. What can I do to make it harder?
If your rower has fixed resistance, you can increase intensity by rowing faster or for longer durations. Incorporate interval training with short bursts of high effort. You can also try adding bodyweight exercises before or after your row for a more challenging workout.
Should I warm up and cool down at a different resistance level?
Absolutely, we recommend it! Always start your workout with a very light resistance for 5-10 minutes to properly warm up your muscles. Similarly, cool down for a few minutes at a light resistance to help your heart rate return to normal and aid recovery.