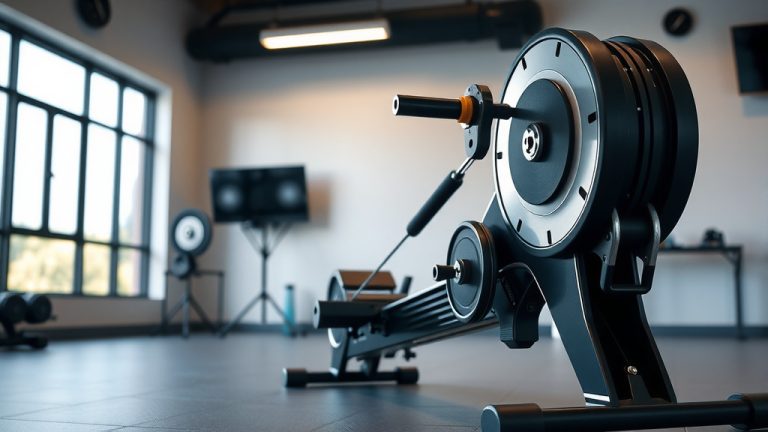
How To Do A Rowing Machine Workout?
To do a rowing machine workout effectively, focus on the four phases of the stroke: the catch, the drive, the finish, and the recovery. You will maximize your full-body engagement and prevent injury by mastering this sequence.
A proper rowing machine workout involves setting up correctly, using the right technique, and structuring your sessions thoughtfully for optimal fitness gains.
- Understand the four phases: catch, drive, finish, and recovery.
- Set up your machine for your body type and fitness level.
- Focus on leg power first, then core, then arms.
- Avoid common mistakes like hunching or chicken-winging your arms.
- Always warm up and cool down to protect your body.
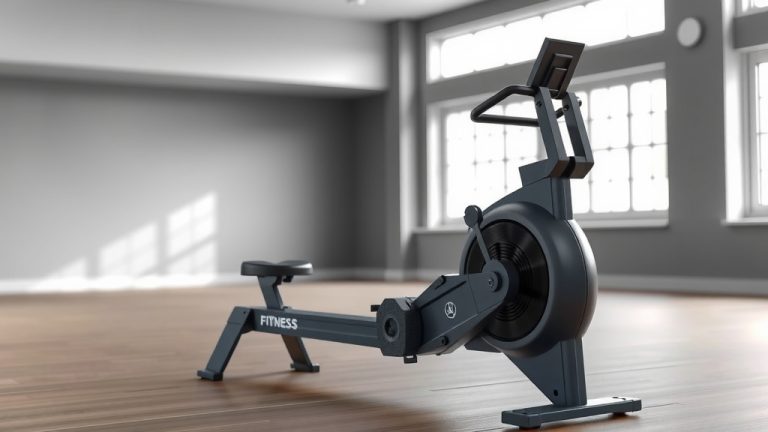
How To Do A Rowing Machine Workout?
Learning how to do a rowing machine workout means understanding a flowing, synchronized movement. It’s about using your entire body in a powerful, efficient rhythm.
Why Row? The Full-Body Powerhouse
Rowing is often called the ultimate full-body workout. It engages roughly 86% of your muscles across nine major muscle groups (British Journal of Sports Medicine).
Imagine pushing off with your legs, engaging your core, and then pulling with your arms. That’s the coordinated effort a rowing machine demands from you.
More Than Just Cardio
While great for your heart, rowing also builds strength. It works your legs (quads, hamstrings, glutes), core, back, and arms. It is a fantastic blend of endurance and power.
Many experts say this combination makes rowing incredibly efficient. You get a lot of fitness benefits in one session.
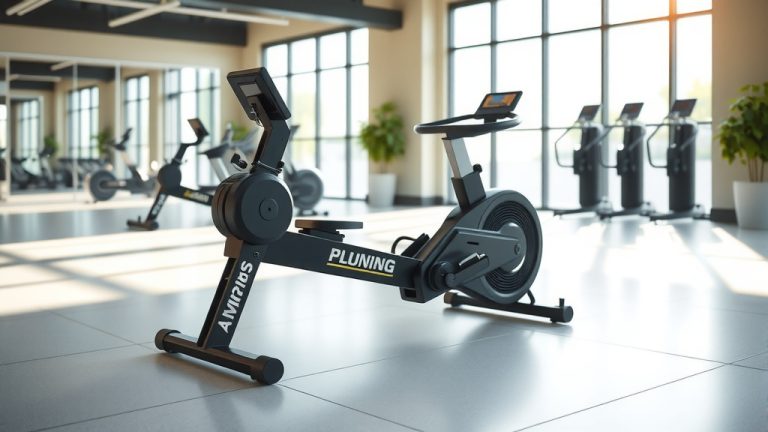
Setting Up Your Rowing Machine for Success
Before you even pull your first stroke, proper setup is key. Think of it like adjusting your car seat before a drive – it makes all the difference.
A poorly adjusted machine can make your workout uncomfortable or even risky. We want you to feel good and stay safe.
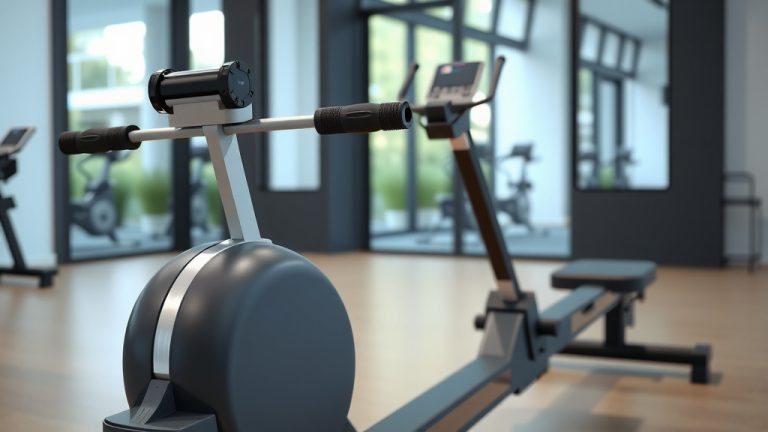
Foot Straps and Damper Setting
First, secure your feet in the straps. The strap should go over the widest part of your foot, allowing your heels to lift naturally as you lean forward.
Next, adjust the damper. This is the lever on the side of the flywheel. It controls how much air enters the flywheel, mimicking boat drag.
A higher setting feels heavier, like rowing a slow, heavy boat. A lower setting feels lighter, like a sleek racing shell.
Many beginners start at a middle setting (around 3-5). We found this offers a good balance of resistance and technique development (Concept2).
Mastering the Rowing Stroke: The Four Phases
The rowing stroke is a fluid, continuous motion. Yet, we can break it down into four distinct phases to help you learn and perfect it.
Think of it as a dance: each step is important, but they flow together seamlessly.
Phase 1: The Catch
This is your starting position. You are at the front of the machine, closest to the flywheel.
Your knees are bent, shins are vertical, and your arms are extended straight. Your back should be tall and straight, slightly leaning forward from your hips.
Imagine you’re about to coil a spring. You are ready to explode with power.
Phase 2: The Drive
This is the powerhouse of the stroke. You start by pushing hard with your legs.
As your legs extend, your core engages, and then your arms pull the handle towards your mid-abdomen. It is legs, then core, then arms, in that order.
We found that many people try to pull with their arms first. Remember the analogy: your legs are the engine, not your arms (American Council on Exercise).
Phase 3: The Finish
You have now completed the powerful drive. Your legs are fully extended and flat.
Your body is leaning back slightly, typically between 11 and 1 o’clock. The handle is at your mid-abdomen, just below your ribs, with your elbows tucked in.
This position should feel strong and stable, like the end of a big push.
Phase 4: The Recovery
This is the return to the catch position. It’s the reverse of the drive.
First, extend your arms straight away from your body. Once your arms are straight, lean your torso forward from your hips.
Finally, bend your knees and slide forward on the seat. This slow, controlled movement prepares you for the next powerful drive.
Common Rowing Mistakes to Avoid
It’s easy to pick up bad habits when you’re starting. We want to help you spot them early. Avoiding these pitfalls will make your rowing more effective and safer.
- Hunching your back at the catch.
- Pulling with arms too early in the drive.
- Not using enough leg power.
- Rounding your back during the recovery.
- Grasping the handle too tightly.
Pulling Too Hard Too Soon
Some people try to yank the handle with their arms right away. This puts too much strain on your back and arms.
Remember, the legs are your biggest muscle group. They should do most of the work. Push with those powerful glutes and quads first.
The “Chicken Wing” Arms
Do your elbows flare out like chicken wings when you pull? This can strain your shoulders.
Keep your elbows relatively close to your body. Pull the handle in a straight line towards your core. Imagine drawing an imaginary line to your mid-abdomen.
Structuring Your Rowing Machine Workout
Once you understand the technique, how do you put it into a workout? Variety and progression are important for continued gains.
You can mix short, intense bursts with longer, steady-state sessions. What feels right for you today?
| Workout Type | Beginner Example | Intermediate Example |
|---|---|---|
| Steady State | 20 mins at moderate pace | 30-45 mins at consistent pace |
| Interval Training | 5 x (1 min hard, 2 min easy) | 8 x (2 min hard, 1 min easy) |
| Pyramid | 3-4-5-4-3 mins, easy in between | 5-10-15-10-5 mins, easy in between |
Warm-Up and Cool-Down
Every workout, no matter how short, needs a warm-up. This prepares your muscles and heart for activity.
Start with 5-10 minutes of light rowing at a very easy pace. This gently wakes up your entire body.
A cool-down is just as important. After your main workout, row for 5 minutes at a very easy pace again.
Then, spend a few minutes stretching major muscle groups like your hamstrings, quads, and back. This helps with recovery (Mayo Clinic).
Listen to Your Body
Are you feeling tired or sore? It’s okay to adjust your workout. We found that pushing through pain often leads to injury.
Hydrate well before, during, and after your workout. Nourish your body. You are doing great things for your health.
Consistency is Your Best Stroke
Like any fitness journey, consistency is crucial. Regular rowing sessions, even short ones, will yield better results than sporadic, intense bursts.
Aim for 3-4 times a week if you can. You will feel stronger, have more energy, and move better.
The rhythm of rowing can even be meditative. Find your groove and enjoy the journey.
Conclusion
Mastering a rowing machine workout involves understanding technique, setting up correctly, and building a structured routine. Focus on the four phases of the stroke: catch, drive, finish, and recovery. Remember, your legs are the powerhouse. By avoiding common mistakes and being consistent, you will quickly enjoy the full-body benefits and the rhythmic satisfaction of rowing. Keep practicing, and you will feel strong and energized.
How often should a beginner use a rowing machine?
A beginner can start with 2-3 sessions per week, aiming for 15-20 minutes each. As your fitness improves, you can gradually increase the duration and frequency. Listen to your body and allow for rest days.
Is rowing bad for your back?
No, rowing is not inherently bad for your back. In fact, when done with proper technique, it can strengthen your back muscles. Poor form, such as rounding your back or pulling with your arms too early, is what can cause back strain. Always maintain a strong core and straight back.
What is a good intensity level for rowing?
A good intensity for most workouts is one where you can still speak a few words but would struggle to sing a song. This is often called a moderate intensity. For interval training, you will push much harder during the “on” periods, feeling breathless.
How can I make my rowing machine workout more challenging?
To increase the challenge, you can extend your workout duration, increase your stroke rate (strokes per minute), use higher damper settings, or incorporate interval training with short, intense bursts followed by recovery periods. You can also try more advanced workout structures like pyramids.
What should my stroke rate be?
Your stroke rate (strokes per minute, SPM) will vary. For steady-state cardio, many experts suggest 20-25 SPM. For interval sprints, you might go as high as 28-34 SPM. Focus on power per stroke rather than just a high stroke rate, especially when starting out.