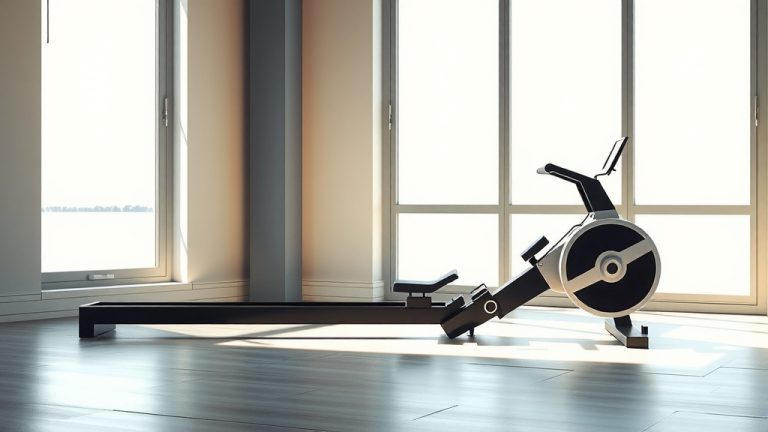
How To Properly Use A Rowing Machine?
To properly use a rowing machine, sit tall, strap your feet in, and begin with the “catch” position – knees bent, arms forward. Push powerfully with your legs first, then swing your back, and finally pull with your arms, keeping your core engaged.
The key to effective rowing is a smooth, continuous cycle: legs, core, arms on the drive; then arms, core, legs on the recovery, ensuring you extend fully without overreaching or hunching your back.
Ready to master the rowing machine? Here’s a quick overview:
- Start with proper setup, making sure your feet are secure.
- Focus on the “legs, core, arms” sequence for the powerful drive.
- Smoothly reverse the movement: “arms, core, legs” for recovery.
- Avoid common errors like hunching or rushing the stroke.
- Warm up and cool down to keep your body happy and injury-free.
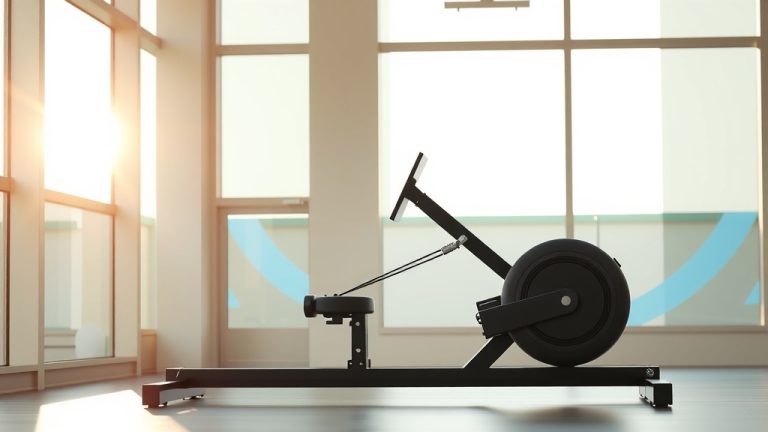
How To Properly Use A Rowing Machine?
Using a rowing machine correctly transforms it into a full-body workout that’s both powerful and gentle on your joints. We found that mastering the technique helps you gain maximum benefits without strain.
Why Row? The Benefits Are Huge!
You might wonder why so many people praise rowing. It’s truly a standout for overall fitness. This machine offers a comprehensive workout experience for nearly every major muscle group.
Full-Body Workout
Think about it: your legs push, your core stabilizes, and your arms pull. Many experts say rowing engages about 85% of your muscles (American Council on Exercise). That’s like getting a strength workout and cardio all at once.
Low Impact, High Reward
Are your joints sensitive? Rowing is kind to them. Unlike running, it keeps your feet planted, reducing stress on your knees and hips. You get a fantastic calorie burn and muscle building without the pounding.
Getting Started: Your Setup Checklist
Before you even pull the handle, proper setup is vital. This ensures comfort and safety, setting you up for a good workout. Think of it as preparing your launchpad.
- Adjust the foot straps so they go over the widest part of your foot.
- Tighten the straps so your feet feel secure but not squished.
- Check the damper setting; 3-5 is a good starting point for most people.
- Sit tall on the seat, making sure your posture is upright.
- Grab the handle with an overhand grip, arms straight.
The Four Phases of a Perfect Stroke
Imagine your stroke as a smooth, flowing dance, not a series of jerky movements. It breaks down into four parts, each playing an important role. Let’s look at each step.
The Catch (Start Strong)
This is where you begin. Your knees are bent, shins nearly vertical, and arms are extended straight forward. Your back is upright, leaning slightly forward from the hips. Think of yourself as ready to spring into action.
The Drive (Power Through)
Now, push! We found that the power comes mostly from your legs. Explode backward, driving through your heels. As your legs extend, lean back slightly from your hips and then pull the handle towards your lower ribs. It’s a “legs-core-arms” sequence.
The Finish (Lean Back)
At the end of the drive, your legs are fully extended, and your body leans back slightly (around 11 o’clock if you’re picturing a clock face). The handle rests gently against your lower ribs. Your core should feel tight, supporting your posture here.
The Recovery (Glide Forward)
This is the calm after the storm, giving your muscles a brief rest before the next drive. First, extend your arms straight forward away from your body. Then, lean your torso forward from the hips. Only then do you allow your knees to bend and slide forward. It’s an “arms-core-legs” sequence.
Common Mistakes to Avoid
Many beginners fall into common traps. Knowing these ahead of time can save you pain and frustration. We want you to feel confident and correct on the machine.
“Too Much Arm, Not Enough Leg”
This is a big one. You might feel your arms getting tired too fast if you’re not using your legs. Remember, your legs are the engine; they do most of the work. Focus on pushing, not just pulling.
Hunching Your Back
Slouching can cause back pain and limit your power. Always keep your back straight and your core engaged. Imagine a string pulling you up from the top of your head. This posture helps protect your spine (NIH).
Rushing the Recovery
A fast drive is good, but a rushed recovery can throw off your rhythm. Let the recovery be twice as long as your drive. This gives your body time to reset and gather strength for the next powerful push.
Finding Your Rhythm and Pace
Rowing is about rhythm, like dancing. A smooth, controlled pace is often more effective than just going as fast as you can. We found that a good rhythm helps sustain your workout for longer periods.
| Stroke Rate (SPM) | Intensity Level | Good For… |
|---|---|---|
| 18-22 | Low-Medium | Warm-ups, steady state cardio |
| 24-28 | Medium-High | Interval training, challenging cardio |
| 30+ | Very High | Short sprints, maximum effort |
Consider your stroke rate, which is strokes per minute (SPM). A lower SPM with more power per stroke is often better for endurance. Higher SPM is for shorter bursts of speed.
Warming Up and Cooling Down
Every good workout starts with preparation and ends with care. Don’t skip these steps; they help your body work better and recover faster. Many guidelines point to a gentle warm-up as a good first step (Mayo Clinic).
Spend 5-10 minutes with light cardio and dynamic stretches before you row. Afterwards, 5-10 minutes of light rowing and static stretches will help your muscles cool down and relax.
Listening to Your Body
Your body is a smart machine. Pay attention to its signals. If something feels like a sharp pain, stop immediately. Discomfort is okay, but pain is your body’s way of saying “slow down” or “change something.”
Hydrate well before, during, and after your workout. Fuel your body with good nutrition. Consistency and proper technique lead to lasting results, not just pushing through every session.
Conclusion
Mastering the rowing machine takes a little practice, but it’s incredibly rewarding. By focusing on the four phases of the stroke, avoiding common mistakes, and listening to your body, you’ll unlock a powerful, low-impact workout that benefits your entire system. Keep practicing, and you’ll find your rhythm soon enough. Happy rowing!
How often should I use a rowing machine for results?
For noticeable fitness improvements, we found that using a rowing machine 3-5 times a week for 20-30 minutes per session is a great goal. Consistency really helps build endurance and strength over time.
What is a good damper setting for beginners?
Many experts suggest starting with a damper setting between 3 and 5. This range often feels like rowing on a calm lake, providing enough resistance to feel the work without being too hard to maintain proper form.
Can rowing help me lose weight?
Yes, absolutely! Rowing is a fantastic calorie burner due to its full-body engagement. When combined with a balanced diet, regular rowing sessions can be a very effective tool for weight management and body composition changes.
My lower back hurts after rowing. What am I doing wrong?
Lower back pain often comes from a few common form issues. You might be hunching your back, leaning back too far, or not engaging your core enough. Remember to keep your back straight, lean only slightly at the finish, and use your legs for power, not your back.
Should I wear special shoes for rowing?
You don’t need special rowing shoes, but flat-soled athletic shoes are best. They allow for a more stable and direct push through your feet, helping you generate maximum power from your legs. Avoid overly cushioned or running-specific shoes.