How To Set Up A Rowing Machine?
To set up a rowing machine, start by assembling the main frame according to the provided manual, ensuring all major components like the rail, seat, and console are securely attached.
Always verify that all bolts and connections are tightened and the machine is stable on a level surface before your initial use.
- Get your rowing machine out of its box and inspect all parts.
- Find a dedicated, stable space in your home for the setup.
- Follow the assembly instructions for the main body and rail.
- Attach the seat, footrests, and monitor carefully.
- Perform a final safety check, tightening all screws and testing movement.
How To Set Up A Rowing Machine?
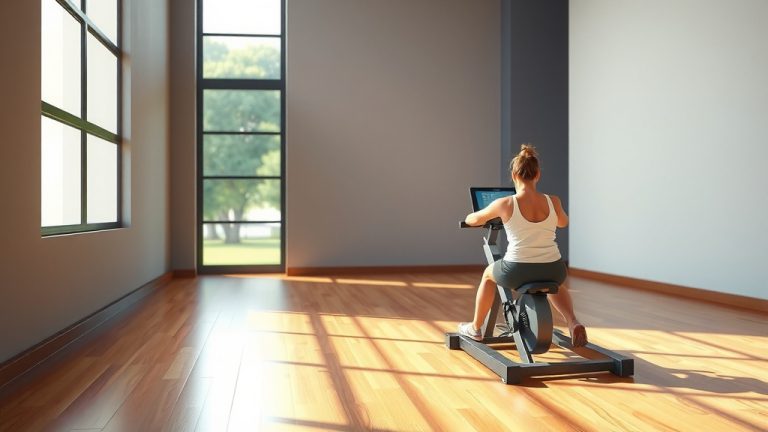
Setting up a rowing machine can feel like a small project, but it is often straightforward and rewarding. Most models come with clear instructions, making the process smooth. We found that taking your time with each step is key to a stable and safe rower.
Unboxing Your New Rower: First Steps
When your new rowing machine arrives, the first thing to do is carefully unbox it. Lay out all the components and check against the parts list in your manual. This helps you confirm everything is present and undamaged before you begin assembly.
Gather any tools mentioned in the instruction manual. Often, manufacturers include the necessary wrenches or Allen keys. Having your tools ready makes the assembly process much faster and less frustrating.
Finding the Perfect Spot for Your Rower
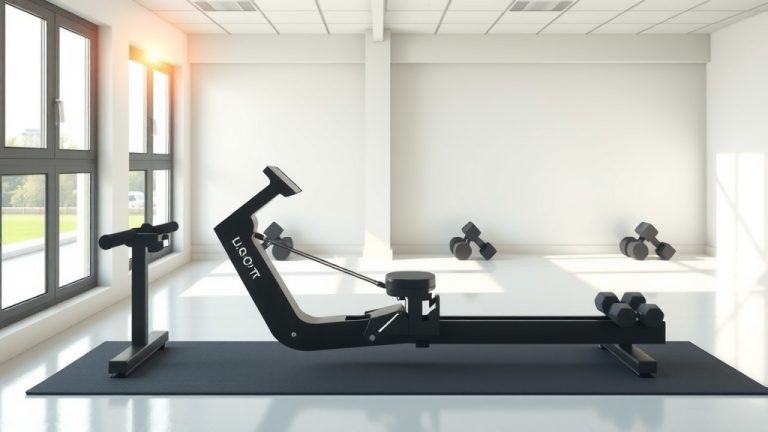
Before you even think about assembly, consider where your rower will live. A rowing machine needs a flat, stable surface. We often advise allowing enough space at both the front and back for the full range of motion, as well as easy access around the sides.
Think about noise too. While modern rowers are quieter, some models like air resistance types can be louder (NIH). Placing it where it won’t disturb others or where you can enjoy your workout is a smart planning step.
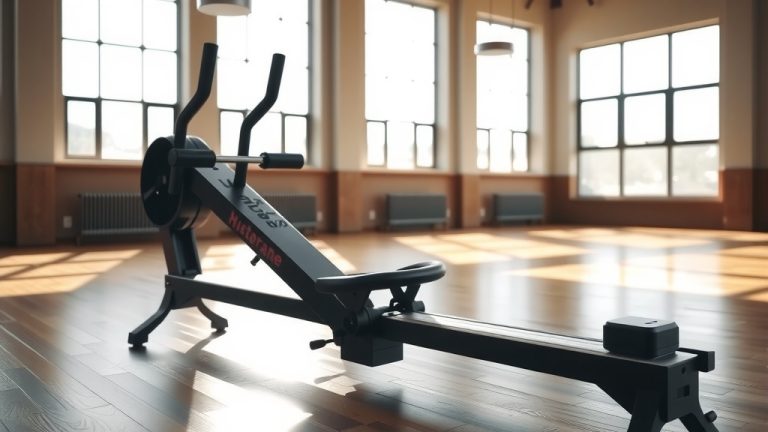
Assembling the Main Frame: Building Your Base
This is often the most significant part of the setup. You will typically start by connecting the main rail to the front base or flywheel housing. Many experts say to follow your specific manual closely here, as designs differ.
Secure all bolts as you go, but sometimes leave them slightly loose until all pieces are aligned. This can make fitting parts together easier. Once everything is in place, then go back and tighten every connection firmly (Mayo Clinic).
Connecting the Seat and Handle
Next up is the seat. The seat usually slides onto the rail system. Ensure it glides smoothly along the track without catching. A smooth-moving seat is vital for an effective and comfortable rowing stroke.
The handle or handlebar connects to the resistance mechanism, often via a chain, strap, or cord. Make sure this connection is secure and the handle retracts properly. You want that consistent resistance feel from the very first pull.
Attaching the Footrests and Straps
The footrests are crucial for stability and power transfer during your workout. They typically bolt onto the main frame near the flywheel. Ensure they are firmly attached and level.
Adjustable foot straps are part of the footrest assembly. These straps hold your feet in place. Make sure they are correctly threaded and can be easily adjusted. Proper foot placement prevents your feet from slipping during intense rowing sessions.
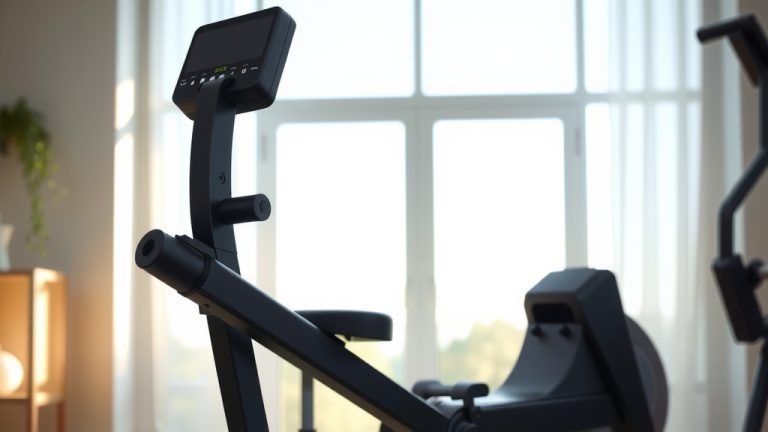
Calibrating Your Performance Monitor
Your rowing machine’s monitor is your data hub. It often requires batteries, so insert them according to the manual. Then, turn it on and check that it powers up correctly. We found that some monitors may need a quick calibration or setting of basic preferences.
Test the basic functions. Does it register movement when you pull the handle? Can you scroll through different metrics like time, distance, or strokes per minute? A working monitor helps you track progress accurately.
Pre-Workout Checks: Safety First!
Before your first stroke, a final safety check is non-negotiable. Go over every bolt and screw you tightened during assembly. Are they all snug? Loose connections can be dangerous and affect your machine’s longevity.
Wiggle the machine gently. Does it feel stable on the floor? If there’s any wobble, check the leveling feet, if your rower has them. A stable machine ensures a safe and efficient workout (American Council on Exercise).
Adjusting Foot Straps for Comfort and Power
Correct foot strap adjustment is a game-changer for your rowing form. Your feet should be secure, but not overly tight. Research often shows that the strap should go over the widest part of your foot or just below your toes (Concept2).
Why is this placement important? It allows you to push off effectively without your heels lifting prematurely. You want to feel connected to the machine, ready to drive through your legs with each stroke.
- Sit on the machine.
- Place your feet into the footrests.
- Adjust the foot position so the strap covers the ball of your foot.
- Tighten the strap firmly, but not uncomfortably.
- Your heels should be able to lift naturally during the drive.
Setting Monitor Preferences: Your Data Hub
Dive into your monitor’s settings. You might be able to set units (miles vs. kilometers), display preferences, or even connect to heart rate monitors. Taking a few minutes here personalizes your experience and enhances data tracking.
Many experts say understanding your monitor helps you stay motivated. Knowing how to reset workouts or view past data can make your fitness journey more engaging. It turns your rower into a smarter training partner.
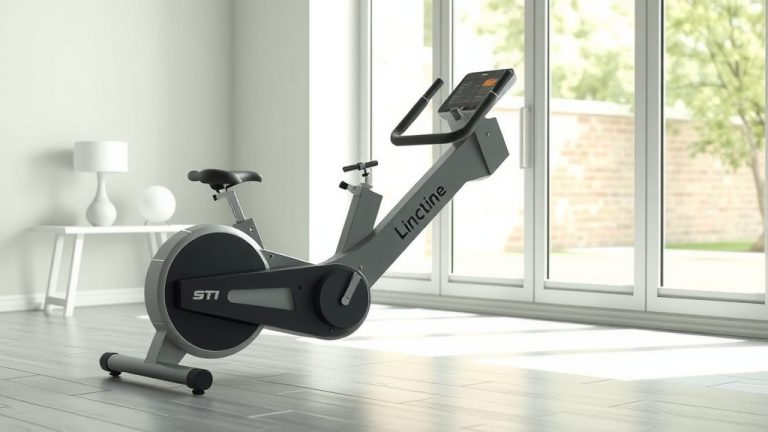
Understanding Resistance Types: A Quick Guide
Rowing machines use different methods to create resistance. Knowing your type helps you understand how your machine feels and performs. Each type offers a unique rowing experience.
Here’s a simple look at the common types:
| Resistance Type | How It Works | Typical Feel |
|---|---|---|
| Air | Fan blades spin against air; more pull equals more resistance. | Smooth, natural, like on-water rowing; can be louder. |
| Magnetic | Magnets pass by a flywheel; resistance is adjusted via a dial. | Very quiet, consistent resistance; less “feel” of water. |
| Water | Paddles move through water in a tank; more pull equals more resistance. | Most authentic on-water feel, soothing water sound. |
| Hydraulic | Hydraulic cylinders provide resistance, often on compact models. | Compact, less fluid motion; can be a good entry-level option. |
What About Maintenance After Setup?
Once your rower is set up, a little ongoing care goes a long way. After each workout, a quick wipe down of the seat and handle prevents sweat buildup. This simple step keeps your machine clean and hygienic.
Periodically, check the chain or belt for wear and tear. Some manufacturers recommend lubricating the chain (for chain-driven models) every few months. This ensures smooth operation and extends machine life.
Common Setup Pitfalls to Avoid
Even with careful planning, some common mistakes can happen during setup. Avoiding these can save you headaches later. We found that often, these issues are easily corrected with a second look.
Here’s a quick checklist to review:
- Loose Bolts: Double-check every bolt and screw.
- Uneven Surface: Ensure your rower sits perfectly flat.
- Incorrect Foot Position: Adjust straps for optimal power and comfort.
- Monitor Not Working: Check batteries and connections.
- Ignoring the Manual: Don’t assume you know all the steps; specific models have nuances.
- Limited Space: Ensure enough room for full motion.
Conclusion
Setting up your rowing machine correctly is the first stroke towards a great workout routine. By carefully following the assembly instructions, finding the right spot, and performing those crucial pre-workout checks, you’ll ensure your rower is safe, stable, and ready for action. Remember, taking your time now means enjoying countless smooth and effective workouts later. You’ve built your fitness partner; now go make waves!
What tools do I need to assemble a rowing machine?
Most rowing machines come with all the necessary tools for assembly, typically including Allen keys and a wrench. However, having your own screwdriver set or adjustable wrench on hand can sometimes make the process easier.
How much space does a rowing machine require?
The space needed varies by model, but generally, allow for about 8-9 feet in length and 2-3 feet in width. This accommodates the machine itself plus the full range of motion during rowing, ensuring you don’t hit walls or furniture.
Can I set up a rowing machine by myself?
Yes, most rowing machines are designed for single-person assembly. However, some larger or heavier components might benefit from an extra set of hands, especially when lifting the main rail or attaching the resistance unit.
How do I know if my rowing machine is stable?
After assembly, gently push and pull on different parts of the machine. It should not wobble or creak excessively. Ensure all feet are making solid contact with the floor, and use any leveling adjustments if provided.
What should I do if a part is missing during unboxing?
If you discover a missing part, immediately stop assembly and contact the manufacturer’s customer service. Provide them with your model number, purchase date, and a clear description of the missing item. They will usually ship replacement parts promptly.