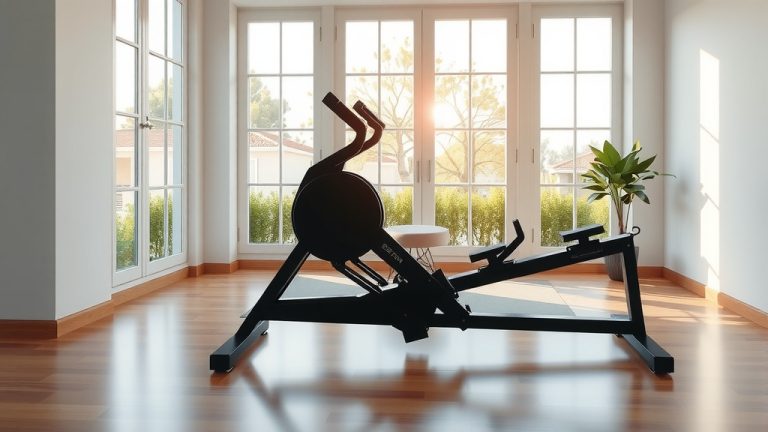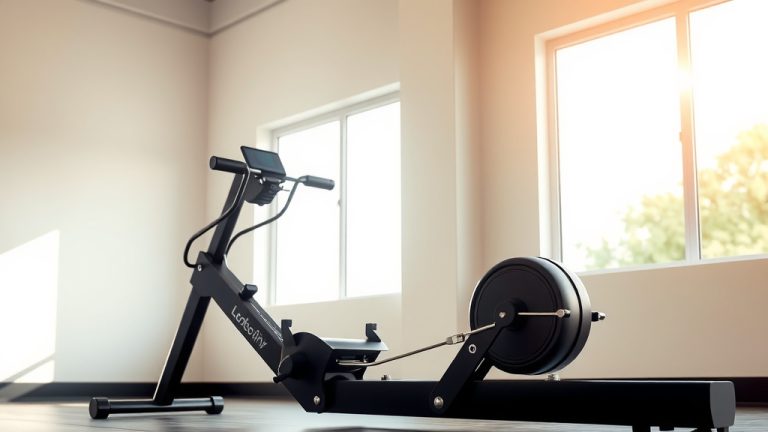
How To Use Air Rowing Machine?
Using an air rowing machine involves a complete, fluid motion across four phases: the catch, drive, finish, and recovery. You start with bent knees at the front, push powerfully with your legs, engage your core and arms, and then smoothly return to the start.
Proper form when you use an air rowing machine ensures a full-body workout and protects you from injury. Focus on powerful leg drive, a strong core, and a controlled recovery for the best results every time you row.
- Get started easily with a quick machine setup and proper foot placement.
- Master the full rowing stroke, breaking it down into four simple phases.
- Learn common mistakes to avoid for a safer, more effective workout.
- Discover how to breathe correctly and use performance metrics.
- Keep your rowing consistent for lasting fitness benefits.
How To Use Air Rowing Machine?
To use an air rowing machine effectively, you first set up your machine, secure your feet, and grasp the handle. Then, you execute the rowing stroke by using your legs, core, and arms in a precise sequence.
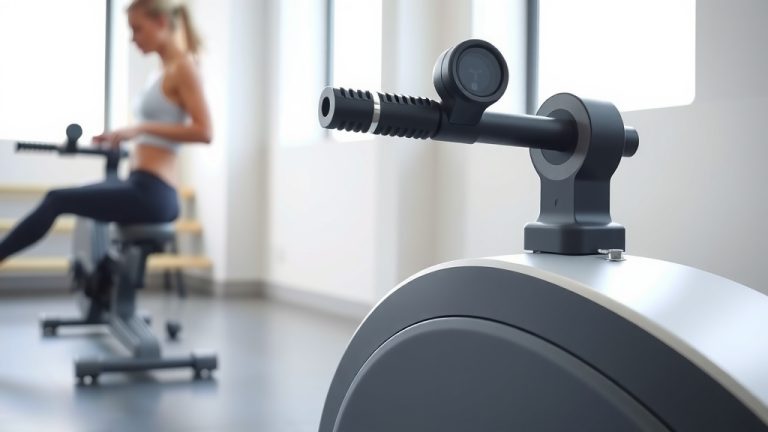
Getting Started: Your Air Rower Setup
Before you even pull the handle, setting up your air rower correctly is key. This ensures both comfort and efficiency for your workout.
Adjust the foot straps so they sit over the widest part of your feet, letting your heels lift slightly if needed. Many experts recommend starting with a damper setting around 3-5 for a good balance of air resistance (Concept2).
Quick Setup Checklist
- Secure your feet with straps across the widest part.
- Set the damper to a comfortable resistance, usually 3-5 to start.
- Ensure the monitor is powered on and ready to track your session.
- Confirm the seat slides freely along the rail without obstruction.
- Make sure there is plenty of space around you for movement.
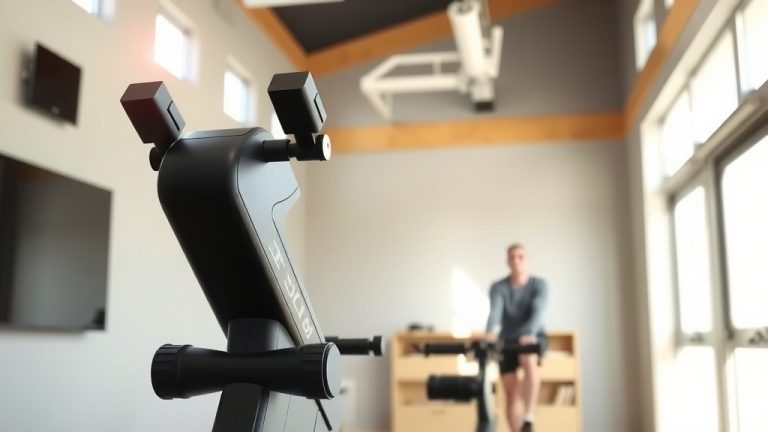
Why Choose an Air Rower?
Air rowing machines offer a full-body workout that builds strength and improves cardiovascular fitness. They engage about 86% of your muscles, making them incredibly efficient (Harvard Health Publishing).
Many people find the smooth, natural feel of an air rower enjoyable and challenging. It’s a low-impact option, kind to your joints while still providing intense exercise.
Understanding the Core Rowing Stroke
The rowing stroke is a continuous, cyclical movement, but we can break it down into four distinct phases. Think of it like a beautiful dance with power and control.
Phase 1: The Catch – Ready to Row
The catch is your starting position, coiled and ready to spring into action. Your knees are bent, shins vertical, and arms extended forward.
Your back should be straight, leaning slightly forward from your hips, with your shoulders relaxed. The handle rests lightly in your fingers, prepared for the next powerful movement.
Phase 2: The Drive – Power Through
This is where the magic happens, the true power phase of your stroke. You push back forcefully with your legs, driving your body away from the footrests.
As your legs extend, your core muscles tighten, and your arms follow through with a pull towards your body. Imagine driving a car forward with your legs (American College of Sports Medicine).
Phase 3: The Finish – Lean Back, Strong Core
At the finish, your legs are fully extended, and your body leans back slightly, using your core for stability. The handle is pulled into your body, usually around your sternum or lower ribs.
Your elbows are tucked in close to your body. This position shows maximum muscle contraction, and you should feel strong and balanced.
Phase 4: The Recovery – Smooth Return
The recovery phase brings you back to the catch position, but in reverse order. First, your arms extend away from your body.
Next, your body hinges forward from the hips, and then your knees bend as the seat slides forward. This controlled return prepares you for the next powerful drive, maintaining rhythm.
Tips for a Smooth and Strong Workout
Beyond the basic stroke, a few key tips can really boost your rowing experience. These small adjustments can make a big difference in your results and comfort.
Avoid These Common Rowing Mistakes
Many beginners make small errors that can affect their workout quality or even lead to discomfort. Being aware helps you correct them quickly.
- Pulling with arms too early in the drive, neglecting leg power.
- Slouching or rounding your back instead of keeping it straight.
- “Rushing the slide,” meaning you rush the recovery phase.
- Gripping the handle too tightly, leading to hand fatigue.
- Over-extending the lean back at the finish, losing balance.
Breathing Techniques
Many experts say coordinating your breathing with your stroke improves stamina. Exhale as you drive back (the powerful part) and inhale during the recovery (the relaxing part).
Keep your breathing deep and rhythmic, not shallow or hurried. This helps supply oxygen to your working muscles and removes carbon dioxide.
Monitor Your Metrics
Most air rowers display metrics like strokes per minute (SPM), pace (time per 500 meters), and total distance. Watching these numbers can guide your workout.
We found that beginners often benefit from focusing on a consistent SPM (around 20-25) rather than raw speed (National Strength and Conditioning Association).
Making Your Rowing Routine Consistent
Consistency is your best friend for seeing results with any fitness routine. Setting realistic goals and varying your workouts helps you stay engaged.
You can mix long, steady rows with shorter, more intense intervals. This keeps your body challenged and prevents boredom. How about we look at how different goals change your focus?
| Workout Goal | Focus During Row | Typical Duration |
|---|---|---|
| Endurance Building | Steady pace, lower stroke rate (SPM), consistent power | 20-40 minutes |
| Strength & Power | Harder leg drive, higher damper, shorter bursts | 15-30 minutes (with intervals) |
| Cardio Fitness | Moderate-high SPM, sustained effort, consistent heart rate | 25-45 minutes |
| Warm-up/Cool-down | Very light effort, focus on fluid motion, low damper | 5-10 minutes |
Listen to Your Body
It’s important to pay attention to how your body feels during and after rowing. Discomfort is normal, but sharp pain is a sign to stop and check your form.
Rest days are just as important as workout days for muscle recovery and growth. You want to build strength, not push yourself to injury.
Conclusion
Mastering your air rowing machine is a rewarding journey. By understanding the setup, breaking down the stroke, and avoiding common errors, you unlock a powerful, full-body workout.
Remember, it’s about consistency and listening to your body. Keep practicing that smooth, strong stroke, and you’ll soon feel the amazing benefits of air rowing.
FAQs
How do I set the damper on an air rower?
The damper controls airflow to the flywheel, changing the “feel” of the stroke. It doesn’t directly add or remove resistance, but changes how much air friction you feel. We found that for general fitness, a setting between 3 and 5 is usually ideal. Higher numbers mimic a heavier, slower boat, while lower numbers feel like a lighter, faster boat. Experiment to find what feels right for your workout intensity.
What muscles does an air rower work?
An air rower provides a truly full-body workout, engaging major muscle groups in your legs, core, and upper body. Your legs power the drive (quads, hamstrings, glutes). Your core stabilizes your body throughout the stroke (abs, lower back). Your arms and shoulders complete the pull (biceps, triceps, lats, traps). It’s a fantastic way to train many muscles at once.
Is rowing bad for your back?
Rowing is generally safe for your back when done with proper form. In fact, it can strengthen your core and back muscles, which helps protect your spine. The common mistake of rounding your lower back or pulling too much with your arms can put strain on it. Always focus on a strong, straight back and hinging from your hips, not flexing your spine.
How long should a beginner row on an air machine?
For beginners, starting with shorter sessions is a good idea. Many experts suggest 10-15 minute workouts, three to four times a week, for the first few weeks. Focus on perfecting your form rather than speed or distance. As your fitness and technique improve, you can gradually increase your duration and frequency. Building up slowly helps prevent injury and keeps you motivated.
What is a good strokes per minute (SPM) for rowing?
Your strokes per minute (SPM) can vary based on your workout goal. For general fitness and endurance, we found that 20-25 SPM is a comfortable and efficient range. If you’re doing high-intensity intervals or sprint work, your SPM might go higher, sometimes up to 30 or more for short bursts. A lower SPM with more power per stroke is often favored for strength work, mimicking heavy lifting.