How To Use Rowing Machine For Beginners?
To use a rowing machine as a beginner, focus on mastering the four phases of the stroke: Catch, Drive, Finish, and Recovery, ensuring your movements are smooth and connected.
Proper form is key for safety and effectiveness, so begin with short sessions, concentrating on technique over speed or distance, and always adjust footstraps and monitor correctly.
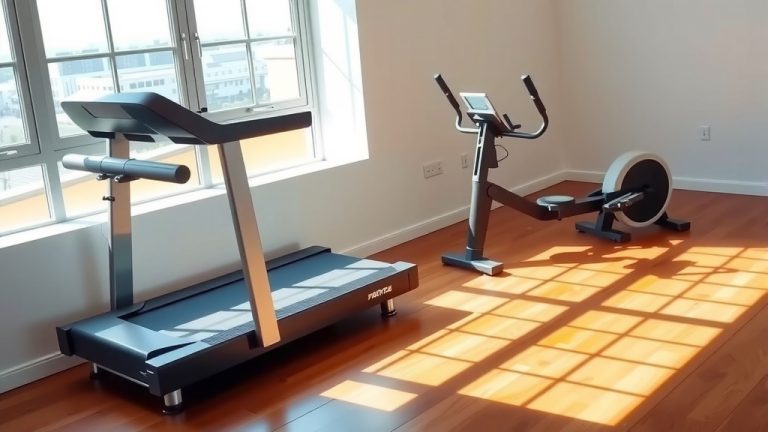
- The rowing machine offers a fantastic full-body workout.
- Start by setting up your footstraps and understanding the monitor.
- The stroke has four parts: Catch, Drive, Finish, and Recovery – learn them well.
- Avoid common mistakes like pulling too early with your arms or hunching.
- Begin with short, consistent workouts to build stamina and perfect your form.
How To Use Rowing Machine For Beginners?
Learning how to use a rowing machine starts with understanding its mechanics and focusing on proper form. It’s a full-body workout that feels great once you get the hang of it.
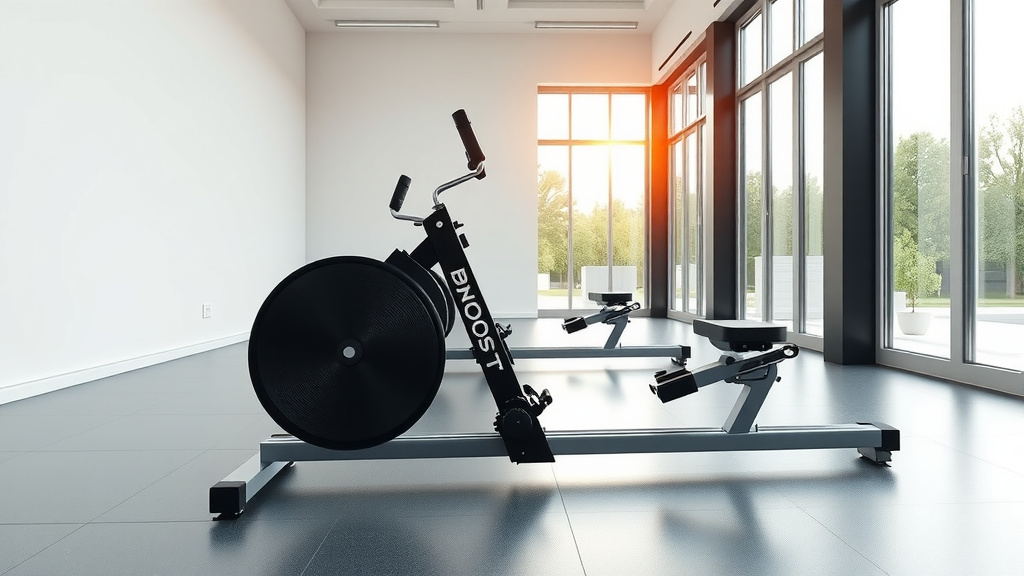
Why Row? The Whole-Body Workout
Rowing is not just an arm or leg exercise. We found that it engages **86% of your muscles** in a single stroke (American Fitness Professionals & Associates). Think of it as a moving plank, strengthening your core, legs, and upper body.
This low-impact cardio option is **gentle on your joints**. Many experts agree it’s a superb way to build stamina and strength simultaneously.
Getting Started: Machine Setup
Before your first pull, take a moment to set up your rower. This initial step makes a **huge difference** in your comfort and form.
Your Feet and Foot Straps
Place your feet in the footrests. The strap should go over the **widest part of your foot**, just below your toes. This allows your heels to lift naturally during the stroke.
Make sure the straps are tight enough so your feet feel secure but not pinched. Your feet should feel **connected to the machine**.
Seat and Monitor Check
Sit comfortably on the sliding seat. Your monitor usually turns on with the first pull or a button press. Get familiar with **basic metrics** like time, distance, and strokes per minute (SPM).
Don’t worry about complex data right away. Just knowing your time and distance is **perfect for beginners**.
The Four Phases of the Rowing Stroke
The rowing stroke is a fluid, continuous motion. It breaks down into four main phases. Think of it like a dance; each step flows into the next.
| Phase | What You Do | Key Focus |
|---|---|---|
| Catch | Knees bent, shins vertical, arms straight, lean forward slightly. | Ready to push. |
| Drive | Push with legs first, then lean back, then pull with arms. | Legs, core, arms sequence. |
| Finish | Legs straight, lean back, handle at ribs, elbows back. | Strong, extended position. |
| Recovery | Arms away, lean forward, then bend knees to slide forward. | Arms, core, legs sequence. |
The Catch (Start Position)
Start with your knees bent, shins nearly vertical. Your arms should be straight, reaching towards the flywheel. Lean your torso slightly forward from your hips, with a **strong, flat back**.
Imagine you’re ready to spring. This position stores **potential energy** for the powerful drive.
The Drive (Power Phase)
This is where the work happens. Push powerfully through your heels and legs. As your legs extend, hinge back slightly from your hips, then finally pull the handle towards your upper abdomen with your arms. Remember the sequence: **legs, core, arms**.
Think of it as jumping back from the start. Your **body moves as one unit**.
The Finish (End of Stroke)
At the finish, your legs should be straight, and your torso slightly reclined (around 11 o’clock). The handle rests gently against your ribs. Your elbows are pulled back, and your **core is engaged**.
You should feel **strong and balanced** in this position, ready for the next phase.
The Recovery (Back to Start)
The recovery is the reverse of the drive, but slower and controlled. Extend your arms away from your body first. Then, hinge forward from your hips. Finally, allow your knees to bend, letting the seat slide forward. The sequence is: **arms, core, legs**.
Take your time on the recovery. It allows you to **reset and prepare** for the next powerful drive.
Common Beginner Mistakes to Avoid
It’s easy to fall into bad habits. Many rowing coaches highlight these common errors. Being aware helps you **correct them early**.
- Pulling with arms too early.
- Hunching your back at the catch.
- Opening your knees wide.
- Rushing the recovery phase.
- Gripping the handle too tightly.
“Pistol Grip” vs. Proper Grip
Don’t grip the handle like you’re holding a pistol, with wrists bent. Keep your wrists flat and relaxed. This helps **prevent strain** and allows for a smooth pull.
A light grip is fine. Let your **fingers hook the handle** rather than squeezing it.
“Back Rowing” (Over-reliance on back)
A common error is using your back too much, especially at the start of the drive. Remember, it’s a **leg-driven exercise** first. Your back provides stability, not primary power.
Engage your core and initiate the drive by **pushing with your powerful legs**.
Your First Workouts: A Simple Plan
Start small, focus on form, and build endurance. Consistency is more important than intensity when you’re beginning.
Warm-up and Cool-down
Always warm up for 5 minutes with light, easy strokes. This prepares your body. After your workout, spend 5 minutes with **gentle, slow strokes** and some light stretching.
This routine helps prevent injury and **aids muscle recovery**.
How Often Should You Row?
We found that 3-4 times a week is a great starting point for beginners (Concept2). Aim for 10-20 minute sessions, prioritizing **smooth, controlled movements**.
Listen to your body. If you’re sore, take a rest day or do a shorter, **very light session**.
Conclusion
Mastering the rowing machine is a journey, not a sprint. You’re learning a **complex, full-body movement**. Focus on the sequential phases, avoid common beginner pitfalls, and be consistent with your practice. With each session, you’ll feel stronger and more confident. Keep your form solid, and you’ll unlock the incredible benefits this machine offers for your fitness.
Is rowing good for losing belly fat?
Yes, rowing can be excellent for losing belly fat. As a high-intensity, full-body cardio exercise, it burns a significant number of calories. When combined with a balanced diet, this calorie expenditure helps reduce overall body fat, including stubborn belly fat, as your body naturally utilizes fat stores for energy.
How long should a beginner row on a machine?
A beginner should aim for 10-20 minute rowing sessions. Start with shorter durations, perhaps 10-15 minutes, focusing primarily on perfecting your form rather than speed or distance. As your endurance and technique improve, you can gradually increase the duration of your workouts.
Should I row every day as a beginner?
It’s generally not recommended for beginners to row every day. Your muscles need time to recover and adapt, especially when learning a new movement pattern. Aim for 3-4 times a week, allowing for rest days in between. This approach prevents overtraining and reduces the risk of injury, promoting consistent progress.
What resistance level should a beginner use?
Most experts suggest beginners start with a moderate resistance level, typically around 3-5 on a damper setting of 1-10. This allows you to feel the resistance without it being overwhelming, making it easier to focus on proper technique. You can always adjust it slightly up or down to find what feels right for you.
Can I watch TV while rowing?
You can watch TV while rowing, but it’s often better for beginners to initially focus fully on their form. Once you feel comfortable and confident in your stroke technique, watching TV can be a great way to make longer sessions more enjoyable. Just make sure it doesn’t distract you from maintaining proper body mechanics.