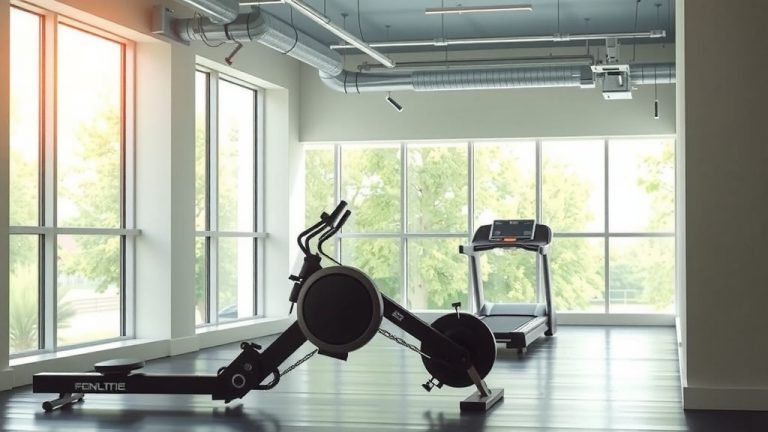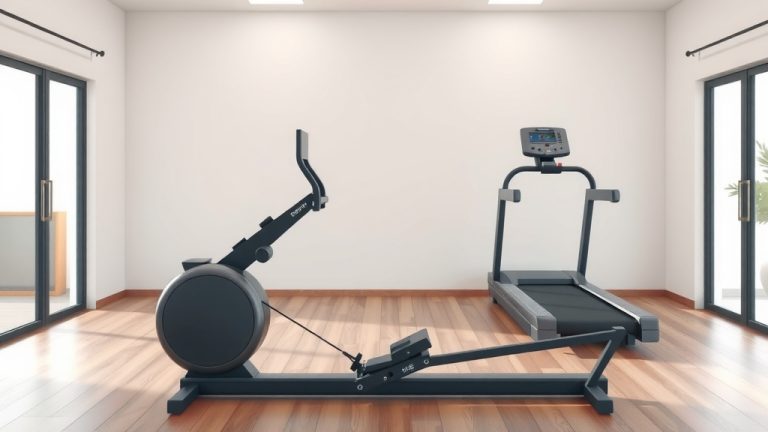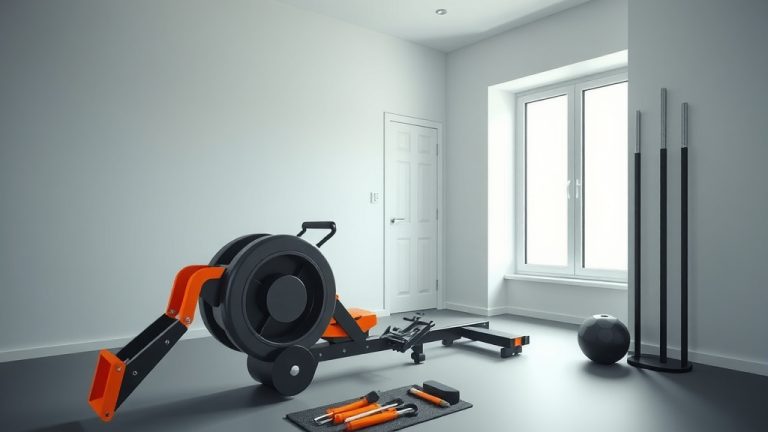
What Does The Damper Do On A Rowing Machine?
The damper on a rowing machine controls the airflow into the flywheel housing, directly impacting the “feel” of your stroke and simulating different boat types on water.
It adjusts the amount of drag or resistance you feel, not the overall intensity, helping you customize your workout sensation.
Here’s a quick summary of what you’ll learn about the rowing machine damper:
- The damper adjusts the amount of airflow reaching the flywheel.
- It primarily changes the “feel” of your stroke, not how hard you’re working.
- Higher settings mimic heavier boats, making the stroke feel more substantial.
- Lower settings provide a lighter, faster feel, like gliding in a sleek boat.
- Your ideal setting matches your personal rowing style and workout objectives.
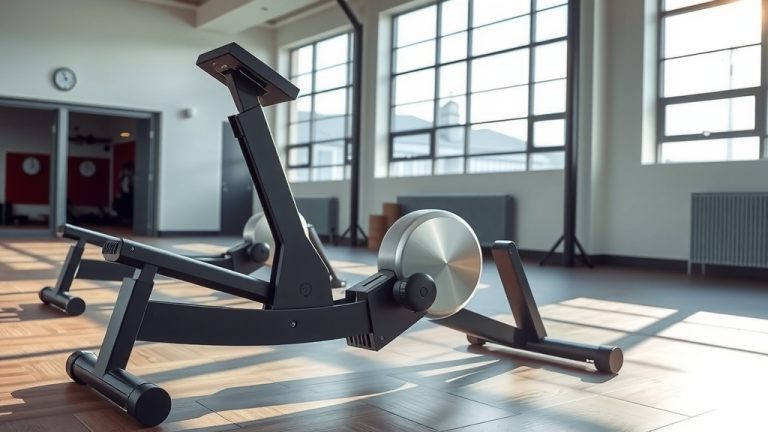
What Does The Damper Do On A Rowing Machine?
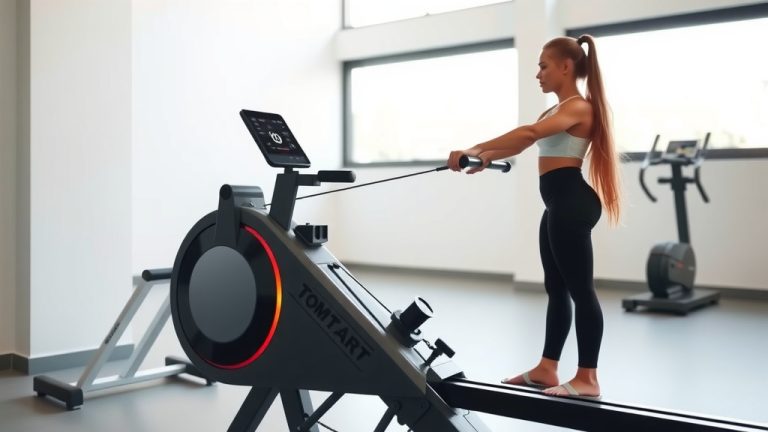
The damper on your rowing machine truly sets the stage for your workout experience. It’s a simple lever, usually numbered 1 to 10, that opens or closes a vent on the flywheel casing.
This vent regulates how much air can enter the flywheel chamber. More air means more drag; less air means less drag. Think of it like shifting gears on a bicycle.
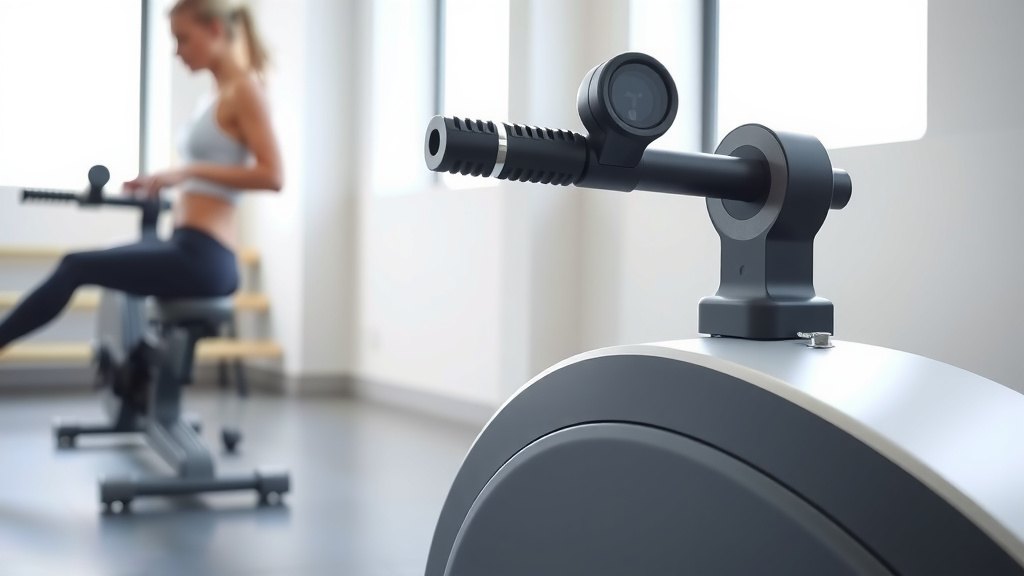
The Science Behind the “Feel”
When you pull the handle, the flywheel spins. The damper determines how quickly that flywheel slows down between strokes. A higher setting means the flywheel faces more air resistance, requiring more power to maintain its speed (Mayo Clinic).
Conversely, a lower setting allows the flywheel to spin more freely. This means less air resistance, and the flywheel will slow down less between strokes. It’s about how much power you feel like you need to apply at the catch.
Understanding Drag Factor, Not Just Damper Setting
Many rowers focus only on the damper setting, but the true measurement of resistance is the drag factor. This is a calibrated value that accounts for your machine’s condition and even altitude.
We found that two machines set at “5” might have slightly different drag factors due to wear or dust. Concept2 machines, for instance, let you view your exact drag factor in the monitor settings (Concept2).
The Difference Between Damper Setting and Resistance
It’s a common misunderstanding that a higher damper setting equals greater resistance. What it truly means is a heavier drag factor, which changes the type of resistance.
A higher drag factor makes the stroke feel heavier from the start, requiring a more aggressive application of power. A lower drag factor allows for a quicker, snappier stroke with less initial “grab.”
Finding Your Ideal Damper Setting
There’s no single “best” damper setting for everyone. Your ideal setting depends on your rowing style, fitness goals, and what feels most comfortable for your body.
We often tell people to experiment. Try a few strokes at different settings to see what feels right for you today. Remember, it’s about customizing your ride.
Consider Your Fitness Level and Goals
If you’re new to rowing, starting with a lower to mid-range setting (around 3-5) is often wise. This allows you to focus on form without feeling overwhelmed by a heavy catch.
Experienced rowers might prefer a slightly higher setting for strength workouts, but even elite athletes rarely use the maximum setting. Research often points to moderate drag factors for optimal efficiency (NIH).
Simulating Different Rowing Scenarios
Think of the damper as a way to mimic different boats on the water. Want to feel like you’re pushing a heavy eight-person shell? Or are you aiming for the speed of a single scull?
This mental connection can make your workouts more engaging. It helps you visualize your training goals and adjust the machine accordingly.
Heavy Boat Simulation
Using a higher damper setting (6-8) will simulate the feel of a heavier, slower boat. You’ll feel more resistance at the catch and need to apply more force through the drive.
This can be great for developing raw power and strength. However, it can also be more taxing on your joints if your form isn’t perfect.
Light Boat Simulation
A lower damper setting (2-4) feels like rowing a light, fast boat. The stroke will feel quicker and smoother, allowing for a higher stroke rate.
This setting is excellent for endurance training, technique work, and warm-ups. You can focus on rhythm and smooth transitions between strokes.
Common Myths About Damper Settings
Let’s clear up some misunderstandings. Misinformation about the damper can prevent you from getting the most out of your rowing machine.
It’s important to separate fact from fiction to train effectively and safely. You want your effort to count!
| Damper Myth | The Reality |
|---|---|
| Higher damper means a “better” workout. | A higher damper changes the *feel*, not necessarily workout effectiveness. |
| Setting 10 builds more muscle faster. | Too high can strain joints and hinder proper technique, potentially reducing muscle activation. |
| Low settings are “easy” and unproductive. | Lower settings are excellent for speed, endurance, and refining technique. |
| It controls how hard you *have* to pull. | It controls the *drag* against which you pull, not your effort level. Your effort is always up to you. |
Myth 1: Higher Damper Means More Intense Workout
This is probably the most common misconception. A higher damper makes the stroke feel heavier, but it doesn’t automatically mean a more intense workout. Your workout intensity comes from your effort and stroke rate.
You can achieve a very high-intensity workout on a lower damper setting by pulling harder and faster. It’s about your output, not just the setting.
Myth 2: Everyone Should Use Setting 10
Setting 10 often provides an unnecessarily heavy feel for most rowers. Many experts say that using an extremely high damper can lead to poor technique, injury, and less efficient power transfer (Cleveland Clinic).
It’s like trying to run in quicksand; you’re working hard, but not moving very effectively. A mid-range setting often allows for a more fluid and powerful stroke.
How Your Damper Impacts Your Workout
Your damper setting plays a subtle yet significant role in shaping your training session. It influences how your muscles engage and how your body responds to the effort.
Understanding these impacts helps you make conscious choices for a truly targeted workout. You are in control of your training experience.
Stroke Rate and Power Output
A lower damper setting often allows for a higher stroke rate because the recovery phase feels lighter and quicker. This is great for cardiovascular fitness and developing speed.
Conversely, a higher damper setting might naturally lead to a lower stroke rate but potentially higher power per stroke, especially if you focus on a strong, deliberate drive. This can be good for strength building.
Muscular Engagement
With a higher damper, you might feel more engagement from your legs and back muscles at the very start of the drive due to the immediate heavy drag. This can be good for strength building.
However, a lower setting still recruits these muscles effectively but encourages a more fluid, continuous effort, which is excellent for muscular endurance. Both settings train your body differently.
Damper Maintenance Tips
Keeping your rowing machine in top condition ensures the damper works as intended. A well-maintained damper gives you accurate feedback and a consistent feel.
A little regular care goes a long way in extending the life and performance of your machine. It’s an investment worth protecting.
- Wipe Down Regularly: Gently clean the damper area to prevent dust and lint buildup.
- Check for Obstructions: Make sure nothing is blocking the vents around the flywheel housing.
- Listen for Unusual Noises: Any grinding or scraping sounds could indicate an issue with the flywheel or damper mechanism.
- Calibrate if Possible: On some machines, you can check or reset the drag factor to ensure accuracy.
- Refer to Manual: Always consult your machine’s manual for specific maintenance recommendations (Manufacturer’s Guidelines).
Conclusion
The damper on your rowing machine is a powerful tool for customizing your workout, not just a simple resistance dial. It shapes the feel of your stroke, influencing everything from power application to muscular engagement.
By understanding how it works and experimenting with different settings, you can tailor your rowing experience to match your fitness goals perfectly. So, play around, listen to your body, and find what truly helps you row stronger and smarter.
What is the ideal damper setting for beginners?
For beginners, a damper setting between 3 and 5 is generally recommended. This range provides enough drag to feel the stroke but is light enough to allow you to focus on proper technique without excessive strain.
Does the damper setting affect calories burned?
Not directly. Calories burned are primarily determined by your workout intensity, duration, and personal effort. While a higher damper might feel harder, you can burn just as many calories with a lower setting if you maintain a high effort level and stroke rate.
Can using a very high damper setting cause injuries?
Yes, using an excessively high damper setting can increase the risk of injury, especially to the lower back and knees. It can encourage poor form, such as yanking with your arms or leaning back too far, rather than driving powerfully with your legs. We found that proper form is key (NIH).
How often should I change my damper setting?
You can change your damper setting as often as your workout goals dictate. Some people adjust it for different parts of their workout (e.g., lower for warm-up, higher for strength drills). Others find a sweet spot and stick with it for most sessions.
Is a lower damper setting only for easy workouts?
Absolutely not! A lower damper setting is excellent for speed work, high-intensity interval training (HIIT), and improving your stroke rhythm and recovery. It allows for faster strokes and can be incredibly challenging when combined with high effort.