
What Is the Best Rowing Machine Resistance Level for Beginners?
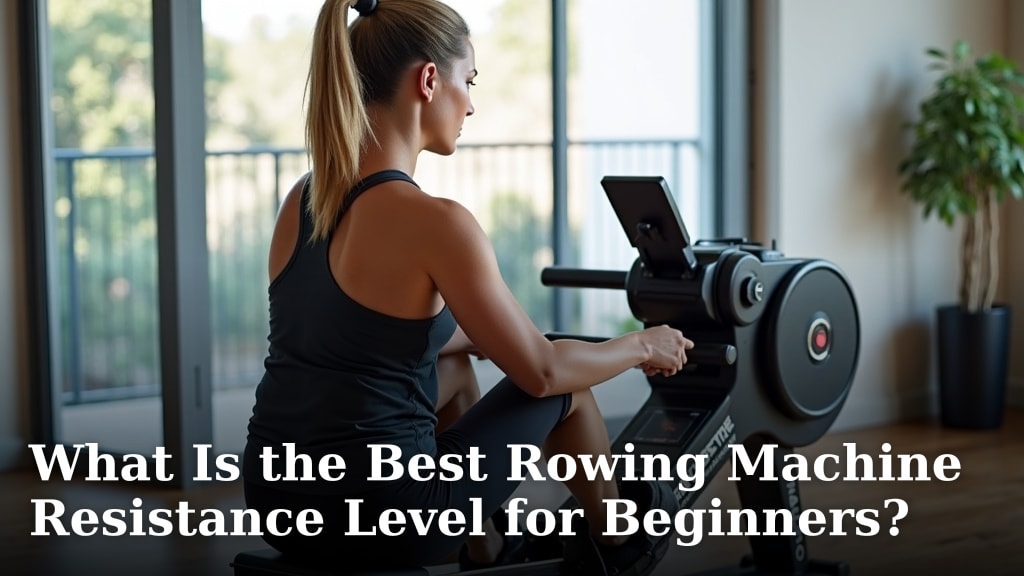
The best rowing machine resistance level for beginners is often lower to moderate, usually between level 3 and 5 on most machines. This range lets you focus on proper form without getting too tired too quickly. It helps you build a strong foundation for your workouts.
Starting with a lower resistance helps you get used to the rowing motion. Many beginners find that jumping into high resistance leads to poor technique. You want to feel comfortable and in control, not struggling with every stroke. We found that practicing good form early on prevents injuries later.
- Start with a lower resistance (3-5) to learn proper form.
- Good technique is more important than high resistance for beginners.
- Avoid going too hard too soon to prevent injury.
- Build your fitness gradually as you get stronger.
Let’s walk through how to choose the right resistance and what factors you should consider to make your rowing journey a success.
Choosing the Right Resistance for Your Rowing Journey
Finding the right resistance level makes all the difference in your early rowing sessions. It helps you build a strong foundation.
Think of it like learning to ride a bike. You don’t start on a mountain trail; you begin on a flat path with training wheels. The same goes for rowing.
Understanding Rowing Machine Resistance Types
Before picking a level, it helps to know how rowing machines create resistance. This knowledge helps you understand what feels right.
Each type offers a different feel and experience. You might prefer one over another as you get stronger.
Air Resistance Rowers
These are very common. They use a flywheel that spins against the air. The faster you pull, the more resistance you feel.
Levels on an air rower usually adjust a damper setting. A higher damper number lets more air in, feeling heavier. A lower number feels lighter. We found that most beginners do well starting around a damper setting of 3 to 5.
Many gyms use air resistance rowers. They give a smooth, natural rowing feel (Concept2 is a popular brand).
Magnetic Resistance Rowers
Magnetic rowers use magnets close to a spinning flywheel. You adjust the resistance with a dial or buttons.
They are known for being very quiet. The resistance level you set is consistent throughout your stroke. This can be great for focusing on steady power output.
A lower setting on a magnetic rower (often 1-3) is usually best to begin with. You’ll feel a clear difference between each level.
Water Resistance Rowers
These machines use paddles rotating in a tank of water. They mimic the feel of rowing on actual water.
The resistance adjusts automatically based on how hard you pull, much like an air rower. The more water in the tank, the heavier it feels.
For beginners, starting with a moderate amount of water is usually sufficient. You can add or remove water to fine-tune the feel.
Hydraulic Resistance Rowers
Hydraulic rowers use cylinders filled with fluid or air. They are often more compact and less expensive.
Resistance is typically adjusted by a knob on the cylinder. These machines sometimes have a less fluid motion compared to other types.
If you’re using a hydraulic rower, start with a low to medium setting. Focus on smooth, controlled movements.
Why Lower Resistance is Your Best Friend as a Beginner
It’s natural to want to push hard, but with rowing, patience pays off. Starting light helps you build good habits.
Many new rowers think higher resistance means a better workout. We found that’s not always true, especially at the start.
Prioritizing Form Over Power
Good form is the secret sauce for effective and safe rowing. It’s like building a house – you need a strong foundation.
When resistance is too high, your body will naturally try to compensate. You might hunch your back, pull too much with your arms, or lift your butt off the seat. These are all signs of poor form.
Poor form can lead to injuries, especially in your lower back or shoulders. It also makes your workout less efficient. You won’t get the full benefit.
A lower resistance allows you to move through the full range of motion. You can learn to engage your legs, core, and arms in the correct sequence.
Building Endurance Gradually
Rowing is a full-body workout. It uses about 86% of your muscles (Harvard Health Publishing). That’s a lot of muscle to get used to!
Starting with lower resistance lets you row for longer periods. This helps build your cardiovascular endurance.
Think of it as training for a marathon, not a sprint. You want to be able to sustain your effort, not burn out in the first few minutes.
Gradually increasing your workout duration is a great way to build fitness (American Heart Association).
Avoiding Injury and Burnout
No one wants to start a new fitness routine only to get hurt or feel completely wiped out. This is where lower resistance shines.
High resistance can put too much strain on your joints and muscles if you’re not ready. Your body needs time to adapt.
Starting too hard can also make rowing feel unpleasant. You might associate it with pain or extreme fatigue. This can lead to giving up. We want you to enjoy your rowing journey!
How to Find Your Sweet Spot: A Beginner’s Checklist
Finding your ideal resistance might take a little trial and error. But don’t worry, we’re here to guide you.
Here’s a simple checklist to help you adjust and find what feels right for your body:
- Can you maintain good posture throughout the entire stroke?
- Do you feel your legs doing most of the work (about 60%)?
- Can you complete 10-15 minutes of rowing without feeling completely exhausted?
- Are you able to control the recovery phase of the stroke (gliding back slowly)?
- Do you feel challenged but not overwhelmed?
If you answered “no” to any of these, consider lowering the resistance a bit more. If it feels too easy, you can try bumping it up just one notch.
When and How to Increase Resistance
Once you’ve mastered good form and can row for 20-30 minutes comfortably, you’ll know it’s time to increase the challenge.
Think of it as adding a little more weight to your squats at the gym. You do it when you feel stronger.
Listen to Your Body and Form
The most important rule: never sacrifice good form for higher resistance. If your form breaks down, reduce the resistance.
You should still feel strong and in control with every stroke. The goal is progress, not just heavier numbers.
Many experts say to increase resistance by only one level at a time. This allows your body to adjust without shock (National Institutes of Health).
Signs You’re Ready for More
How do you know when you’ve outgrown your current setting? Here are some clear indicators:
- You can row for 30 minutes with perfect form and still feel like you have energy.
- Your current resistance feels too easy and you’re not getting a good workout.
- You want to increase your power output and speed.
- You’re no longer feeling a significant challenge in your muscles during longer sessions.
When these signs appear, it’s a good moment to try moving up a level. Don’t rush it.
Resistance Levels and Your Goals
Your fitness goals can also influence your ideal resistance. What are you hoping to achieve with your rowing machine?
It’s important to remember that rowing is versatile. It can help with different fitness aims.
For Cardiovascular Health and Endurance
For building a strong heart and lungs, lower to moderate resistance is often best. You can maintain a consistent pace for longer.
This allows your heart rate to stay in its target zone for an extended period. We found this builds lasting endurance.
Most beginners will naturally be working towards this goal first. It’s a great starting point.
For Strength and Power Training
If your goal is to build muscle and explosive power, you’ll eventually move to higher resistance levels.
But even then, you’ll often mix it up. You might do intervals of high resistance followed by lower resistance.
Higher resistance for strength training usually involves shorter, more intense bursts of rowing. Remember, perfect form is still key here.
Common Mistakes Beginners Make with Resistance
We’ve all been there – new to something and making a few missteps. It’s part of learning!
Knowing common pitfalls can help you avoid them and have a smoother start.
Going Too High Too Soon
This is probably the biggest mistake. It leads to bad form, frustration, and possible injury. It’s like trying to lift a car when you can barely lift a feather.
Your enthusiasm is great, but channel it into consistency and form, not just brute force.
Not Adjusting Resistance Over Time
Once you find a comfortable level, it’s easy to just stick with it forever. But your body adapts!
If you never increase the challenge, your progress will plateau. Regularly re-evaluate your resistance.
Ignoring Body Signals
Your body is a smart machine. If something feels off, or you’re experiencing pain, listen to it.
Don’t push through pain. Reduce resistance or take a break if needed. This prevents minor issues from becoming major problems.
Summary Table: Resistance Levels by Goal and Experience
Here’s a quick reference to help you visualize common resistance settings. Keep in mind these are general guidelines.
Your specific machine might have a slightly different feel, but the principles remain the same.
| Goal/Experience Level | Recommended Resistance (General Range) | Key Focus |
|---|---|---|
| Beginner (0-4 weeks) | Low to Moderate (e.g., Damper 3-5, Mag. 1-3) | Learning proper form, building endurance, injury prevention. |
| Intermediate (1-3 months) | Moderate (e.g., Damper 5-7, Mag. 3-5) | Increasing workout duration, improving power, varied workouts. |
| Advanced (3+ months) | Moderate to High (e.g., Damper 7-10, Mag. 5-8) | Maximal power, interval training, specific strength goals. |
Always prioritize how you feel and your ability to maintain excellent technique.
Conclusion
Finding the best rowing machine resistance level as a beginner is all about balance. You want to prioritize good form over raw power. Starting with a lower to moderate setting, typically levels 3-5, lets you build a strong foundation. This approach prevents injury and helps you develop proper technique. Remember, rowing is a marathon, not a sprint. Listen to your body and gradually increase the challenge as you get stronger.
Ready to make rowing a regular part of your routine? Focus on consistency and enjoy the process of becoming a stronger, more efficient rower!
Frequently Asked Questions
How long should a beginner row at a lower resistance?
You should row at a lower resistance until you can comfortably maintain excellent form for 20-30 minutes. This usually takes a few weeks to a month. Focus on smooth, controlled movements before increasing the challenge.
Does lower resistance mean a less effective workout?
Not at all! For beginners, lower resistance allows you to use more muscles correctly and build endurance. This is often more effective for cardiovascular health and learning than struggling with high resistance. A well-executed stroke at low resistance burns more calories than a sloppy one at high resistance.
Can I switch between different resistance levels during one workout?
Once you’ve established good form, yes, you can. Many intermediate rowers use interval training, alternating between higher resistance for short bursts and lower resistance for recovery. However, as a beginner, it’s best to stick to one consistent, comfortable level per workout.
What if my rowing machine doesn’t have numbered resistance levels?
For machines like air or water rowers, resistance often adjusts based on how hard you pull or the damper setting/water level. Start with a damper setting around 3-5 on air rowers, or a moderate water level. Aim for a setting where you feel a smooth pull, but aren’t fighting the machine.
Is it okay to feel sore after rowing, even at low resistance?
Yes, especially when you’re new to rowing, some muscle soreness (Delayed Onset Muscle Soreness or DOMS) is normal. This indicates your muscles are adapting. However, sharp pain is not normal and means you should stop and check your form or consult a professional.
