How to Clean a Water Rowing Machine Tank?
On this page (9 sections)
The most effective way to clean a water rowing machine tank is to drain, clean, and refill it regularly. This process prevents algae growth and keeps your water clean for a smooth, fresh row every time.
We found that a clean tank isn’t just about looks—it’s about your health and your machine’s performance. Algae and bacteria can build up in stagnant water, causing odors and potentially affecting your air quality during intense workouts.
- Drain all water from the tank completely.
- Clean the inside with a gentle, non-abrasive cleaner.
- Rinse thoroughly to remove any cleaner residue.
- Refill with fresh, clean water (consider a water rowing tank cleaner).
- Clean the tank every few months for best performance.
Below, we walk you through each step in detail, from the easiest cleaning method to tips for keeping your water crystal clear. Let’s get your rower back to peak condition.
Draining and Preparing Your Water Tank
Before you grab any cleaning supplies, you need an empty tank. Start by locating the drain plug or valve on your water rowing machine. This is usually at the bottom of the tank. Place a shallow pan or bucket underneath to catch all the old water. Open the plug and let it drain completely. Don’t rush this step.
You might be surprised by what comes out. The water could be discolored or have a slight odor. This is totally normal. It’s just a sign that your machine has been working hard. We found that completely draining the tank is the most important first step for a truly clean machine.
Removing All Old Water
Getting every last drop out is key. Some tanks have a siphon pump or you can gently tilt the machine to help the remaining water flow to the drain. Make sure the machine is stable and on a flat surface if you need to tilt it. Consult your owner’s manual for specific draining instructions for your model.
A little water left behind isn’t a crisis. But more leftover water means more potential for algae and bacteria later. Think of it like leaving old, stagnant water in a vase for flowers—it gets murky fast.
Choosing the Right Cleaning Solution
Now that the tank is empty, what should you clean it with? You want a gentle cleaner that won’t damage the tank’s plastic or acrylic. Harsh chemicals can cause cracking or cloudiness. Many experts say a simple white vinegar and water solution works beautifully and is very affordable.
Here is a common, effective cleaning solution. You can adjust the amounts based on your tank’s size.
- 1 part white distilled vinegar
- 4 parts warm water
Vinegar is a great natural disinfectant and helps break down mineral deposits and slime. We found that a vinegar solution effectively kills many common bacteria without leaving a harmful residue (CDC).
What You’ll Need for the Clean
Gather your supplies before you begin. Having everything ready makes the process smooth and quick. You won’t need to run to the store mid-clean.
- A bucket or large pitcher for mixing solution
- White distilled vinegar
- A soft, non-abrasive sponge or cloth
- A long-handled brush (a clean toilet brush works well)
- A funnel for refilling
- Fresh, clean water for rinsing and refilling
Avoid These Cleaning Products
Do not use bleach, abrasive scrubbers, or harsh detergents. These can damage the tank material and leave behind toxic chemicals. If you use a commercial cleaner, ensure it is specifically designed for water rowing machines or water feature equipment. Always read the label.
The Step-by-Step Cleaning Process
You’ve drained the tank and have your cleaning solution mixed. Now it’s time to get scrubbing. The goal is to remove any biofilm—that slippery, slimy layer that forms on surfaces in water.
Pour your vinegar and water solution into the tank. Fill it up about halfway to two-thirds full. You don’t need to fill it completely just to clean the interior walls.
Scrubbing the Interior
Use your long-handled brush to scrub the entire inside surface. Pay special attention to corners, seams, and around the impeller. The brush lets you reach everywhere without putting your whole arm inside. Gently scrub the waterline area, where buildup is often worst.
After a good scrub, let the cleaning solution sit in the tank for 20-30 minutes. This gives the vinegar time to work on any stubborn spots and disinfect. You can go have a coffee or stretch while you wait.
Rinsing is Non-Negotiable
Once the soaking time is up, drain the cleaning solution completely. Now you need to rinse thoroughly. Any leftover vinegar residue can affect the water’s taste and potentially irritate your skin during use. Rinse the tank at least two or three times with fresh, clean water. Swirl the water around and drain it each time.
Many guidelines point to thorough rinsing as a critical step after using any cleaning agent (NIH). A well-rinsed tank ensures you start with a truly fresh slate.
Refilling Your Tank the Smart Way
Your tank is now sparkling clean and empty. It’s time to refill it. The water you use matters. Tap water is fine for most people. However, if you have very hard water, you might notice mineral buildup faster over time.
Some rowers prefer using distilled water or adding a small amount of water conditioner. Products like those for aquariums can help prevent mineral deposits. We found that a water rowing tank cleaner additive can help keep water clearer for longer periods between cleans.
How Much Water Should You Add?
Refer to your machine’s manual for the exact fill level. There is usually a marked line inside the tank. Do not overfill. You need to leave space for the water to move and for the impeller to spin without issue. Overfilling can cause leaks or put extra strain on the machine.
Use a funnel to avoid spilling water everywhere. This keeps the area around your rower dry and safe.
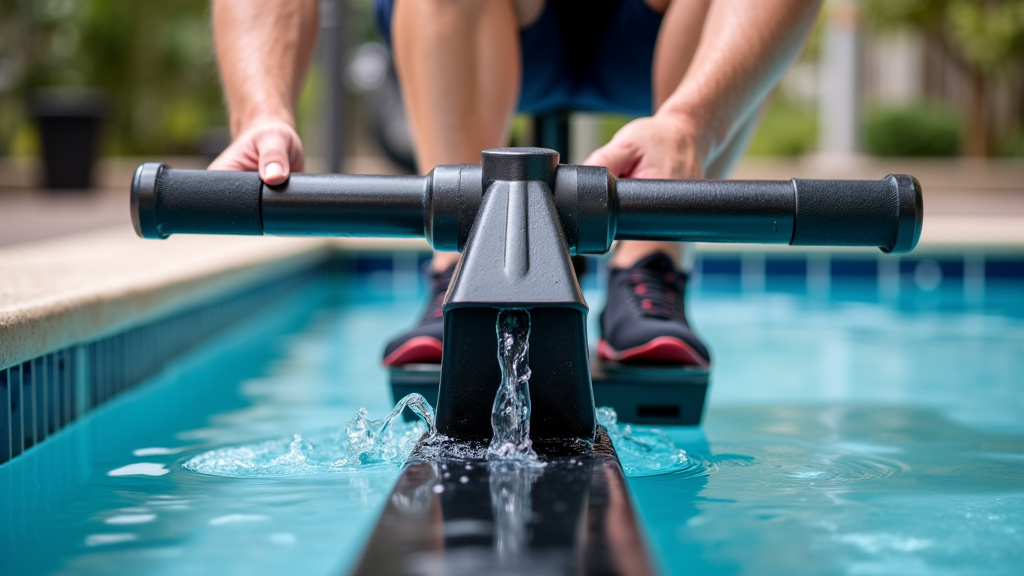
Maintenance Schedule: Keeping It Clean
Cleaning is not a one-and-done task. Regular maintenance will make each deep clean much easier. A little care often is better than one big job every year.
We recommend a basic rinse and refill every 1-3 months. A full drain, clean, and refill should be done every 3-6 months. If you use your rower daily or in a hot, humid environment, you may need to clean it more often.
| Task | Frequency | Why It’s Important |
|---|---|---|
| Visual Check & Wipe Down | Weekly | Prevents surface dust and grime from entering the water. |
| Rinse and Refill | Every 1-3 Months | Keeps water fresh and slows algae growth between deep cleans. |
| Full Drain & Deep Clean | Every 3-6 Months | Removes biofilm and prevents odors and bacterial buildup. |
| Check Water Clarity | Monthly | Early detection means an easier fix if it gets cloudy. |
Signs Your Tank Needs Immediate Attention
Don’t wait for your schedule if you notice certain signs. Trust your senses. If you see green algae, it’s time for an immediate clean. If the water has a foul smell, that’s a clear indicator of bacteria. Cloudy or murky water means it’s time for a change.
A clean tank should have clear, odorless water. If it doesn’t, your next workout might be less pleasant. Plus, you might be inhaling aerosolized bacteria from the churning water, which isn’t ideal for your lungs.
Quick Maintenance Checklist
Keep this list handy to stay on top of your water rower’s health. Check these items off regularly.
- ☐ Inspect water clarity weekly for any cloudiness.
- ☐ Wipe down the tank exterior to prevent dust from falling in.
- ☐ Check for leaks around the base and plugs every month.
- ☐ Rinse and refill water every one to three months.
- ☐ Perform a full clean every three to six months.
Storing Your Rower for Long Periods
If you won’t be using your machine for a month or longer, proper storage is crucial. Never store it with water in the tank. Stagnant water left sitting will almost certainly grow algae and bacteria. It can also cause mineral deposits to form.
The best practice is to fully drain, clean, and rinse the tank before storage. Leave the drain plug open while it’s stored to allow any residual moisture to evaporate and air to circulate. This simple step prevents a nasty surprise when you’re ready to row again.
We found that a little preventative care saves you a major headache later. Your water rowing machine is an investment in your health. Keeping its heart—the water tank—clean ensures it performs at its best for years to come.
Conclusion
Keeping your water rowing machine tank clean boils down to a simple, regular routine. By draining, cleaning, and refilling it every few months, you stop algae in its tracks and protect your health. You’ve learned how to safely scrub the interior, the best cleaning solutions to use, and how to refill it the smart way. A clear tank means better performance and workouts that feel fresh. Your next step is simple: grab your supplies and schedule your next deep clean this week. A little effort now keeps your machine running smoothly for years.
Frequently Asked Questions
How often should I really clean my water rower tank?
We recommend a full drain and deep clean every 3 to 6 months. However, check the water clarity monthly. If you use it daily or in a humid space, clean it more often. A quick rinse and refill every 1-3 months also helps between deep cleans.
Can I use regular tap water in the tank after cleaning?
Yes, tap water is perfectly fine for most people. If you have very hard water, you might see mineral buildup faster. Some users add a water conditioner or use distilled water to help keep it clearer longer.
What do I do if I see green algae in the tank?
Green algae means it’s time to clean immediately. Drain all the water, give the tank a thorough scrub with your vinegar solution, rinse very well, and refill with fresh water. Don’t delay, as algae can grow quickly.
Should I store my rower with water in the tank?
Never. Always fully drain and clean the tank before storing it for a month or more. Leaving stagnant water inside guarantees algae and bacteria growth. Leave the drain plug open during storage to allow it to air dry completely.
The water smells bad. How do I get rid of the odor?
A foul smell is a clear sign of bacteria buildup. You need to perform a full drain and deep clean right away. Scrub the tank thoroughly with a disinfecting solution like vinegar and water, then rinse it multiple times to remove all residue.