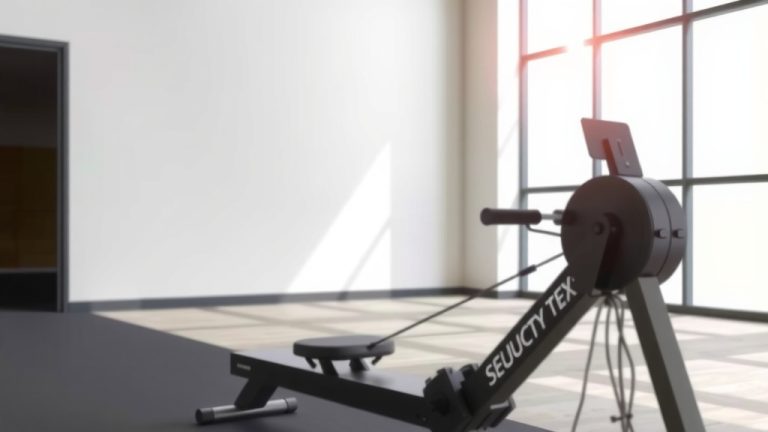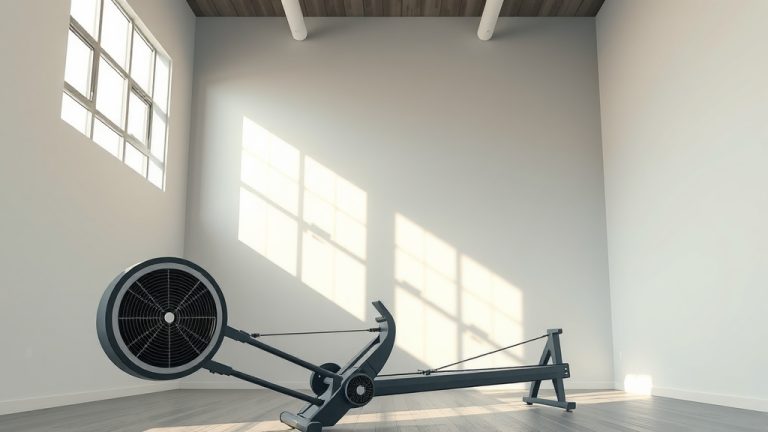
How To Row On A Rowing Machine?
To row on a rowing machine, you perform a four-phase stroke: The Catch, The Drive, The Finish, and The Recovery. Focus on using your legs for power, followed by your core and arms.
Proper form when you row on a rowing machine involves a smooth, continuous motion, ensuring your body sequence is legs, core, then arms on the drive, and arms, core, then legs on the recovery.
- Legs are your primary power source in rowing.
- The stroke has four key phases: Catch, Drive, Finish, and Recovery.
- Maintain a tall, engaged core throughout your workout.
- Breathing rhythmically helps sustain your effort and improve performance.
- Avoid common errors like hunching or pulling with just your arms to prevent injury.
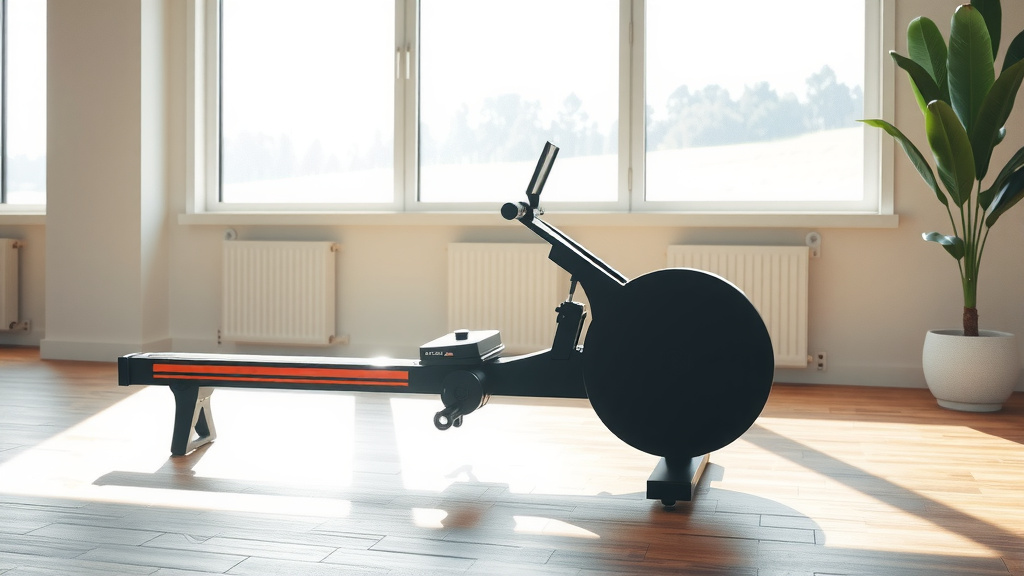
How To Row On A Rowing Machine?
Learning how to row on a rowing machine means mastering a smooth, powerful, and efficient full-body movement. It is simpler than it looks, focusing on leg drive rather than arm strength.
The Full-Body Fitness Secret
Many experts say rowing engages about 86% of your muscles across your legs, core, and upper body (American Fitness Professionals & Associates). This makes it a fantastic workout for overall strength and endurance.
When you row, you are essentially performing a strength and cardio workout at once. It helps improve your cardiovascular health and builds muscle simultaneously. Think of it as a symphony of muscle engagement.
Low Impact, High Reward
We found that rowing is incredibly kind to your joints, unlike high-impact activities like running. This makes it an ideal exercise for almost anyone, regardless of age or fitness level (Mayo Clinic).
You get all the benefits of a challenging workout without the jarring impact. This means less stress on your knees and hips, allowing for consistent, pain-free training.
Getting Started: Setting Up Your Machine
Before you even pull the handle, proper setup is key for comfort and efficiency. A few quick adjustments make all the difference in your rowing experience.
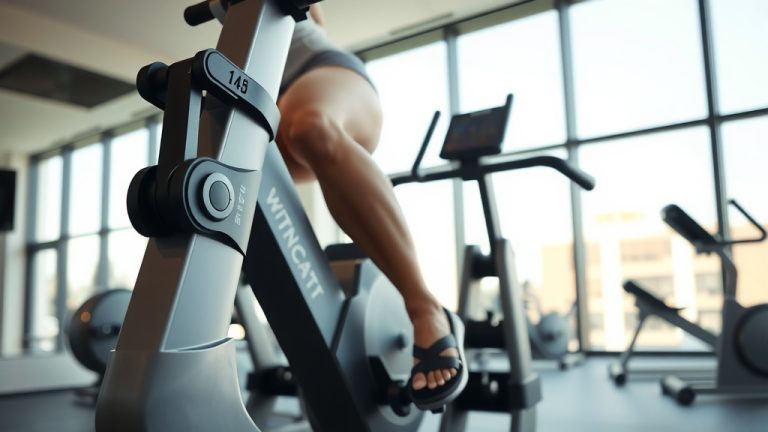
Adjusting the Foot Straps
Sit on the machine and place your feet into the footrests. The strap should go over the widest part of your foot, right where your toes meet your foot. This allows your heels to lift slightly, naturally.
You want your feet to feel secure but not cramped. Too loose, and you lose power; too tight, and you restrict movement. Find that sweet spot.
Setting Your Damper Level
The damper controls how much air enters the flywheel, affecting the “feel” of the stroke. It is like gears on a bike, not an intensity knob. A higher damper setting does not always mean a better workout.
We found that beginners often do well with a damper setting between 3 and 5. This provides enough resistance to feel the stroke without being too heavy. Research often shows that lower settings are actually more efficient for long-term power (Concept2).
| Damper Setting | Feel of the Stroke | Best For |
|---|---|---|
| 1-3 | Light, fast | Endurance, beginners, technique focus |
| 4-6 | Medium, balanced | General fitness, moderate intensity |
| 7-10 | Heavy, strong | Strength training, power intervals (use with caution) |
Mastering the Rowing Stroke (The Four Phases)
The rowing stroke is a fluid, repetitive motion broken down into four distinct phases. Understanding each phase helps you build a strong, effective stroke.
Phase 1: The Catch
This is your starting position. Your knees are bent, shins vertical, and your arms are extended forward. Your back should be straight, leaning slightly forward from the hips, ready to drive.
Imagine you are about to push off a wall. Your body is coiled and prepared, with your core engaged and shoulders relaxed.
Phase 2: The Drive
This is where the power happens. Push strongly through your feet, extending your legs first. As your legs extend, hinge back slightly from your hips, and then pull the handle towards your lower ribs.
Think “legs, core, arms” in that order. This sequence ensures you are using your powerful leg muscles for most of the work.
Phase 3: The Finish
At the finish, your legs are fully extended, your back is straight and leaning slightly back. The handle should be at your lower ribs, and your elbows are pulling slightly back.
This is the fully extended position, like the end of a powerful push. Your core is still engaged, holding your posture.
Phase 4: The Recovery
The recovery is the reverse of the drive, but in slow motion. Extend your arms first, then hinge forward from your hips, and finally, bend your knees to slide forward to the catch position.
The sequence here is “arms, core, legs.” It is a controlled return, allowing you to prepare for the next powerful drive. Take your time; don’t rush the recovery.
Common mistakes can derail your form and effectiveness. Let’s look at some key things to watch out for:
- Are your legs doing most of the work?
- Is your back straight and not hunched?
- Are you extending your arms before bending your knees?
- Is your core engaged throughout the movement?
- Are you maintaining a consistent, smooth rhythm?
Breathing and Pacing
Synchronizing Breath
Breathing correctly can greatly enhance your rowing performance. Many experts suggest exhaling forcefully during the drive phase, as you exert power, and inhaling during the recovery phase.
This rhythmic breathing helps oxygenate your muscles and keeps you steady. Try to find a natural inhale-exhale rhythm that matches your stroke.
Finding Your Rhythm
Pacing is not just about speed; it is about consistency. Aim for a smooth, continuous flow rather than jerky movements. The recovery should take about twice as long as the drive (American Council on Exercise).
Imagine a powerful “pop” on the drive, followed by a controlled glide on the recovery. This 1:2 ratio helps conserve energy and maximizes your power output.
Common Mistakes and How to Fix Them
Even experienced rowers sometimes fall into bad habits. Being aware of these common pitfalls helps you refine your technique and prevent injuries.
Rushing the Recovery
This is a very common error. When you rush back to the catch, you lose control and cannot set up for a powerful next stroke. Remember, the recovery is your chance to reset.
Slow down your return. Count “1-2” on the recovery for every “1” on the drive. This small adjustment makes a huge difference in efficiency and power.
Pulling Too Hard with Arms
If your arms feel tired first, you are likely relying too much on them. The power comes from your legs. Your arms are merely connecting your body to the handle.
Focus on initiating the drive with a strong leg push. Only when your legs are nearly straight should your arms begin to pull. Think of your arms as hooks, not prime movers.
Hunching Your Back
A rounded back during any part of the stroke puts undue stress on your spine. Maintaining a strong, flat back is paramount for safety and power.
Keep your chest open and your shoulders down and back. Engage your core to support your posture. A strong core is your best defense against back strain.
Your First Workout (A Simple Plan)
Ready to put it all into practice? Here is a simple, effective workout structure to get you started on your rowing journey.
Warm-Up Routine
Always begin with a warm-up. Five minutes of easy rowing at a low intensity prepares your muscles and heart for the work ahead. This helps prevent injury.
Include some light stretching for your hamstrings, quads, and back after your easy rowing. Dynamic stretches are best before the main workout.
Workout Structure
We found that a structured approach helps build endurance and technique. This simple plan focuses on consistent effort.
- Row for 5 minutes at an easy, conversational pace.
- Increase intensity to a moderate, steady pace for 10 minutes.
- Focus on maintaining good form and a consistent stroke rate.
- Cool down with another 5 minutes of easy rowing.
- Stretch your major muscle groups afterward.
Conclusion
Rowing on a rowing machine is an incredible way to achieve a full-body workout with minimal impact. By focusing on the four phases of the stroke—Catch, Drive, Finish, and Recovery—and prioritizing leg power, you unlock its full potential.
Remember to set up your machine correctly, breathe with your strokes, and be mindful of common mistakes. Consistent practice refines your technique and builds your fitness. So, grab that handle, push with your legs, and enjoy the rhythm of the row.
Is rowing good for losing belly fat?
Yes, rowing is an excellent exercise for overall fat loss, including belly fat. It burns a significant number of calories due to its full-body engagement. We found that consistent rowing, combined with a balanced diet, helps reduce body fat percentage effectively.
How long should a beginner row on a machine?
Beginners should start with shorter, manageable sessions. Many experts suggest 15-20 minute workouts, 3-4 times a week, including warm-up and cool-down. As your fitness improves, you can gradually increase duration or intensity.
Should my feet lift on a rowing machine?
It is natural and correct for your heels to lift slightly off the footplates at the catch position. This allows your shins to be vertical and your body to coil forward effectively. However, the balls of your feet should remain firmly connected to the footplates.
What is the ideal stroke rate for rowing?
The ideal stroke rate can vary, but for general fitness and endurance, a rate between 20-26 strokes per minute (spm) is common. For sprint intervals, it might go higher, while technique drills might be lower. Focus on power per stroke, not just a high stroke rate.
Can you get bulky from rowing?
While rowing builds muscle and strength, it is unlikely to make you “bulky” in the way heavy weightlifting might. Rowing develops lean, functional muscle across your entire body. It promotes a balanced physique rather than extreme muscle mass, as we found in many fitness studies.